

There’s something magical about paper snowflakes.
It’s not just how pretty they are, or how they will make a little moving mobile if you hang them in the window, though they are all that. It’s that when you’re cutting them, they don’t seem like they will be anything at all. It’s just some random shapes cut into a scrap of paper.
And then…. then you open them, and they’re beautiful. Every, single time. It’s magic.
I don’t think you ever get too old to be amazed and delighted by paper snowflakes. I’ve been making them every winter since I was a teenager, I make them now with my kids, and I plan to keep making them every year going forward.
I’d like to teach you how I make my 6-pointed snowflakes so you can make some, too.
Here we go!
Step 1: Gather Materials
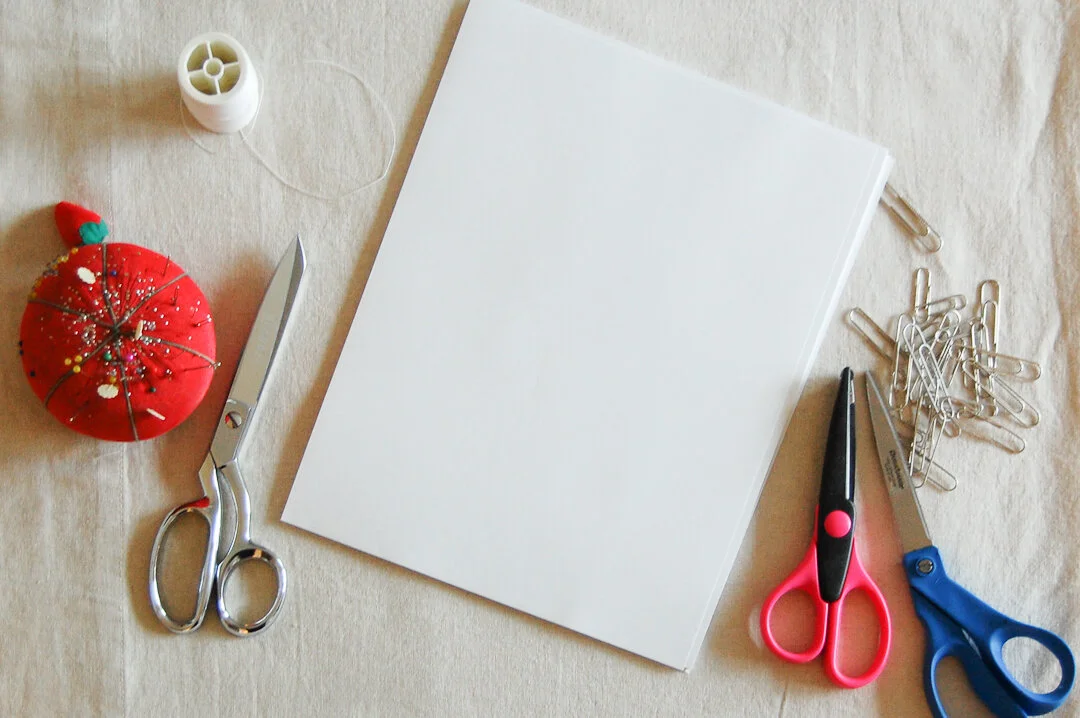
You will need:
-
Regular plain white printer paper
-
Sharp paper scissors
I usually use just plain paper scissors, but you can use fancy scissors, too. Experiment!
For each snowflake, you start by executing a handful of folds that will give you a base hexagon to make your snowflake from. Here’s how you do it:
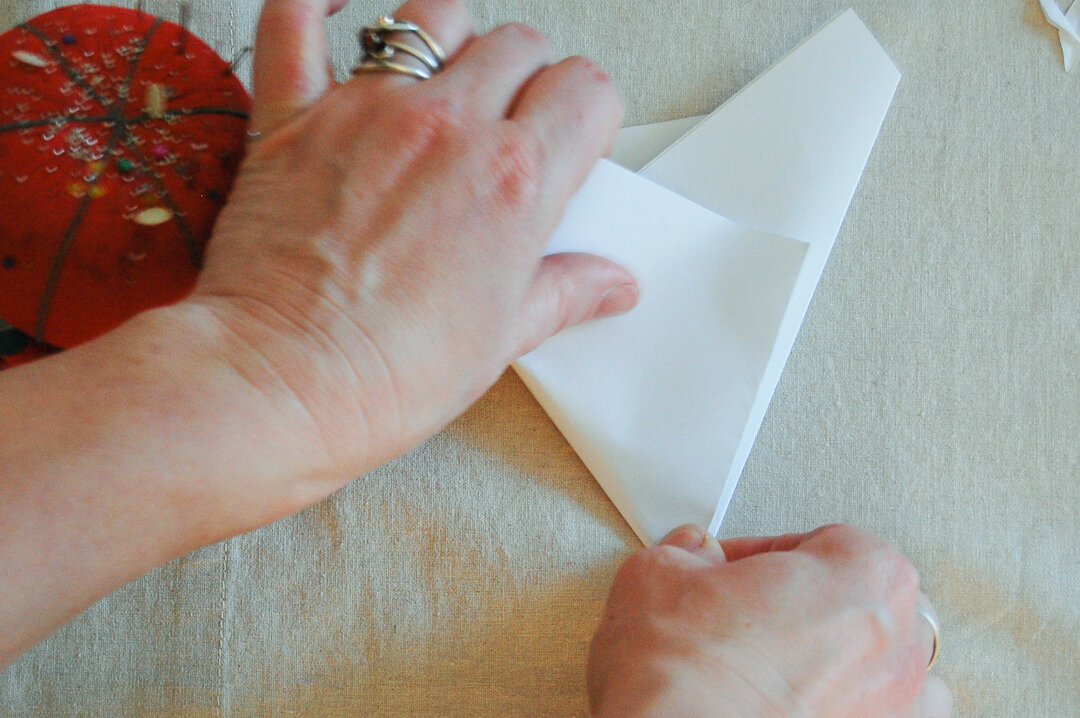
Step 2: Fold the paper in half


Step 3: Crease the Center Point

Fold the paper in half again and just smush down on the folded edge so you know where the center of the paper is.
Step 4: Fold First Ear of the Fox Head

Using the center crease as a guide, fold in the right-side edge at an angle to make a triangle. You are aiming to have about 1/3 of the paper in the triangle. I usually just eyeball this. If you point the corner of the edge you fold at the upper left corner of the paper, it’ll be pretty close. You can also check by looking at the two triangle shapes that are formed — they should be about even.
The corner of the paper will stick up and make a kind of an ear shape, and once both are done it kind of looks like a fox head. Not an official name, just what I made up. 🙂
After this fold the paper will look like this:

Step 5: Fold Second Ear of Fox Head
Now fold the left side of the paper in, covering the first triangle. Match up the edges so the two sides are even, or as even as they can be. It will likely not be perfect, and that is perfectly OK!
After the fold, your paper will look like the following. Now your fox head has both of its ears! 🙂

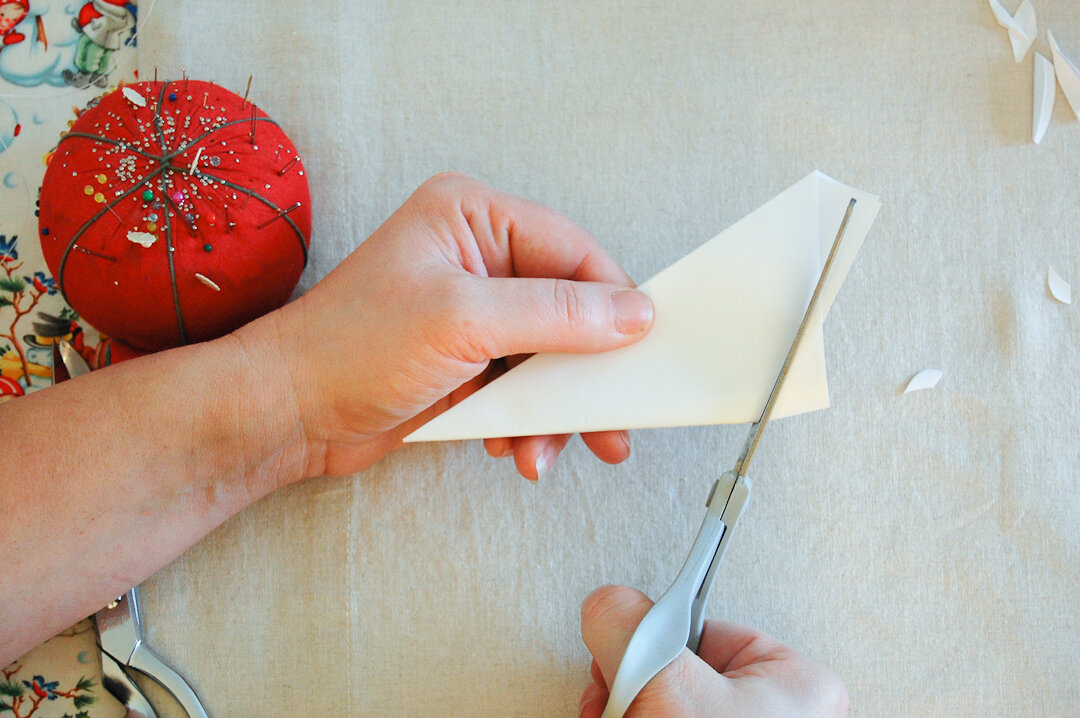
Step 6: Fold the Ice Cream Cone

Now we are going to fold our “fox head” in half, and cut the ears off to make the ice cream cone shape. Once you are done, it should look like this:

Step 7: Get Oriented

Now that you have your ice cream cone, it’s important to know which edges form which parts of your snowflake.
-
The longest folded edge of the ice cream cone is what makes the “arms” of the snowflake. If you cut holes on this edge, you will be adding decorative holes to the “arm” part of the snowflake.
-
The next longest folded edge of the cone is what I call the “valley,” in between the arms. If you cut on this fold, you will be adding decorative holes *between* the arms.
-
The pointy bit at the bottom of the snow cone is the middle of the snowflake. If you cut this off, you will be adding a decorative hole in the middle of the snowflake.
-
The top angled edge of the cone is the outside edge of the snowflake. If you cut on this edge, you will be adding a a decorative edge to the rim of your snowflake.
Step 8: Visualize Design

Now that you are oriented, you can start to think about what you want to cut to make your snowflake.
Something to keep in mind is that any cuts you make along the folded edges (the arm or the valley), you will get a mirror image when you unfold. So, if you half a heart shape, like on the example above, your snowflake will have hearts! This is where you can include bows, snowmen, gingerbread men, a pair of candy canes… anything symmetrical.
The same is true for the point of the snowflake at the end of the arm — whatever shape you cut there will be mirrored, so the snowflake above will have a snowflake point
And finally, the more of the valley you remove, the more “pointy” your snowflake will be. The example above has most of the valley intact and the snowflake will not be very pointy, it will be almost like 12-pointed snowflake. For a stronger 6-pointed design, remove more of the valley so that it’s tallest point is much lower than the main arm.
I do not personally sketch them out ahead of time, I just wing it. But you certainly could lightly sketch your design on the snowflake if you wanted to. 🙂
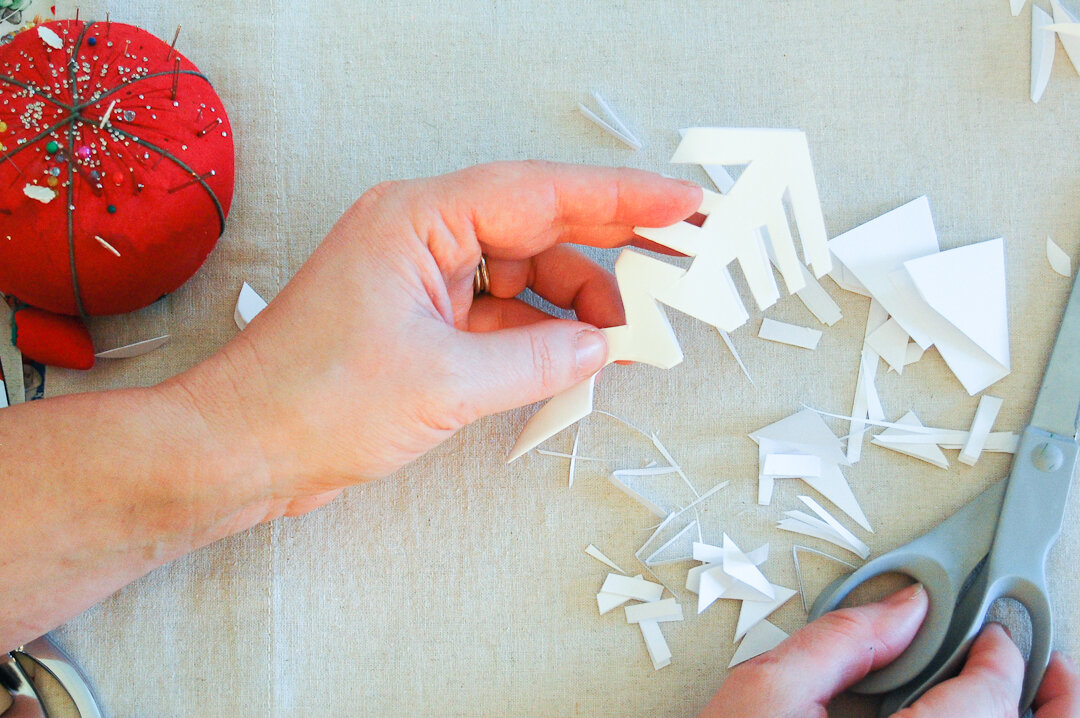
Step 9: Cut!
Now cut your shapes on either side of the snowflake, making sure to leave at least some of the edges intact so the snowflake doesn’t fall completely apart.
A note as well. When I made this snowflake, I was just having fun and winging it, and as you will notice, I didn’t cut my fox head ears off to make an ice-cream cone, but instead played with a pointy end idea — this will come back to bite me later, stay tuned.
I knew I wanted larger, nesting shapes in the middle and a lacy, linear, connected look on the edges, so I started by cutting some deep slots and shaes on one side.

Then I cut similar slots and shapes that interlocked on the other side.
Because there was so much material removed, I chose not to open the center of the snowflake, hoping it would give it some stability.
Step 10: Open Your Snowflake

Gently unfold your snowflake. Be careful! Especially with narrow connections like this, they can catch on each other and tear. Gently peel them apart before continuing to unfold.


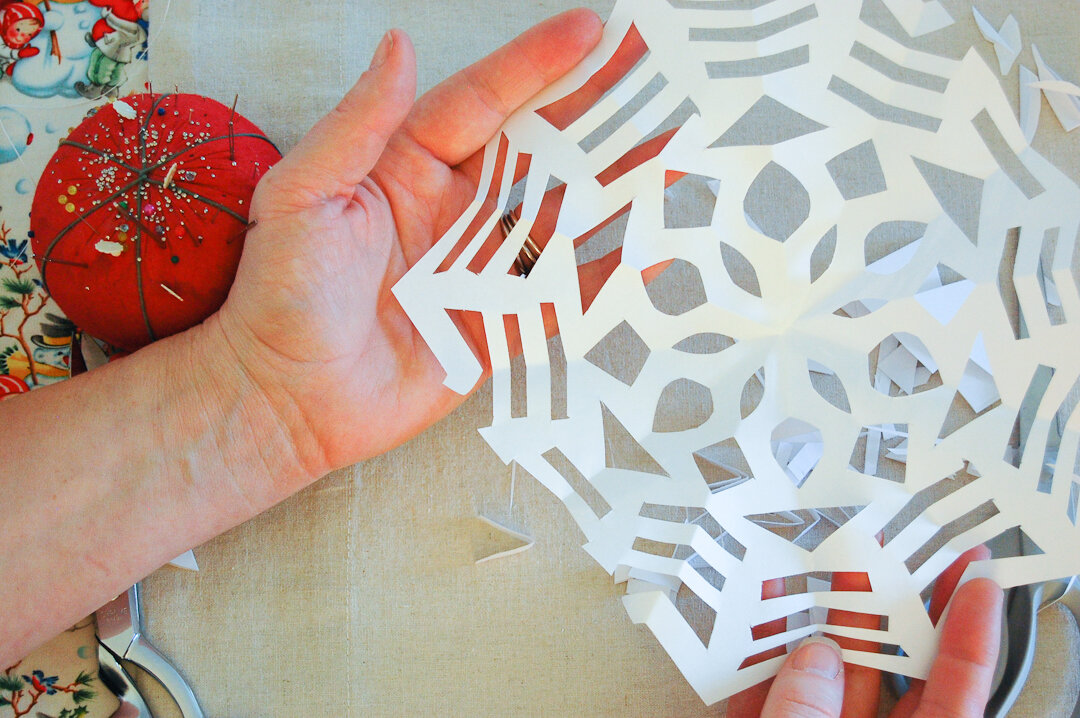
Magic!
Here’s where my decision to play around with the ice-cream cone shape comes back to bite me. See how on the bottom left the outer edge of the snowflake is missing? Uh, huh. That’s because I didn’t cut my fox ears off into an ice cream cone, and so there were spots inside where there was no paper. To avoid this, just make sure to cut your ice cream cone shape before making your snowflake!
Even still, I think it turned out well. The center section is like a stained glass rosette and the outer like rays of light. So I’m happy even though it wasn’t exactly perfect.
Step 11: Iron to Flatten
To make them as flat as possible before using, iron them CAREFULLY. Use a dry iron and press then quickly. Don’t walk away and don’t overdo it!

Congratulations!
You have learned how to make a 6-pointed snowflake! Now you can use this brand-new skill to do several other projects:
-
Make snowflakes with kids
-
Wrap up some presents with cozy kraft paper & string gift wrapping
-
Get messy with the kids and make some kid-made wrapping paper with snowflakes
-
Make a snowflake tree
I hope this was helpful and you enjoyed learning how to make a snowflake. If you make some, let me know! I would love to see your projects!
Much love,

Leave a Reply