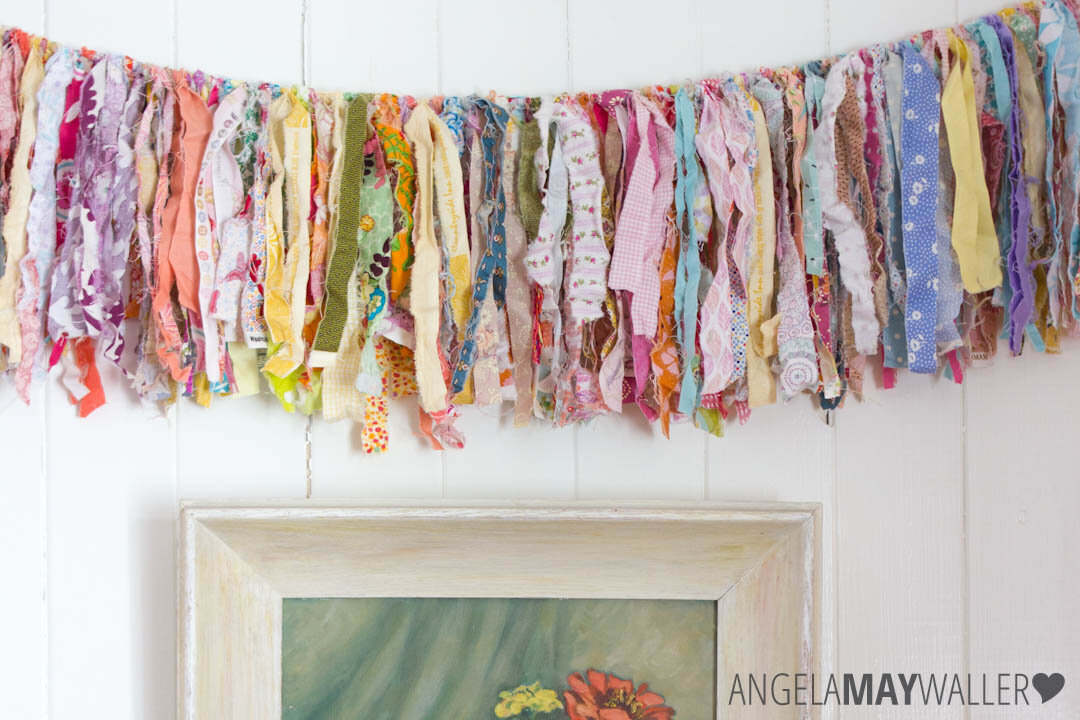
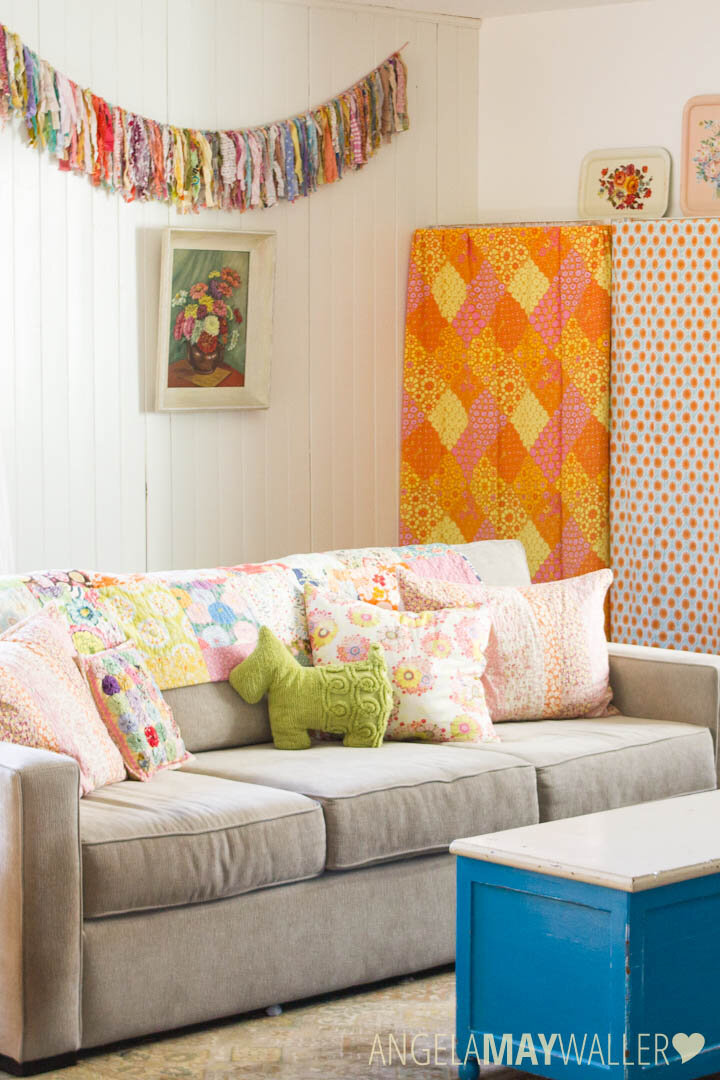
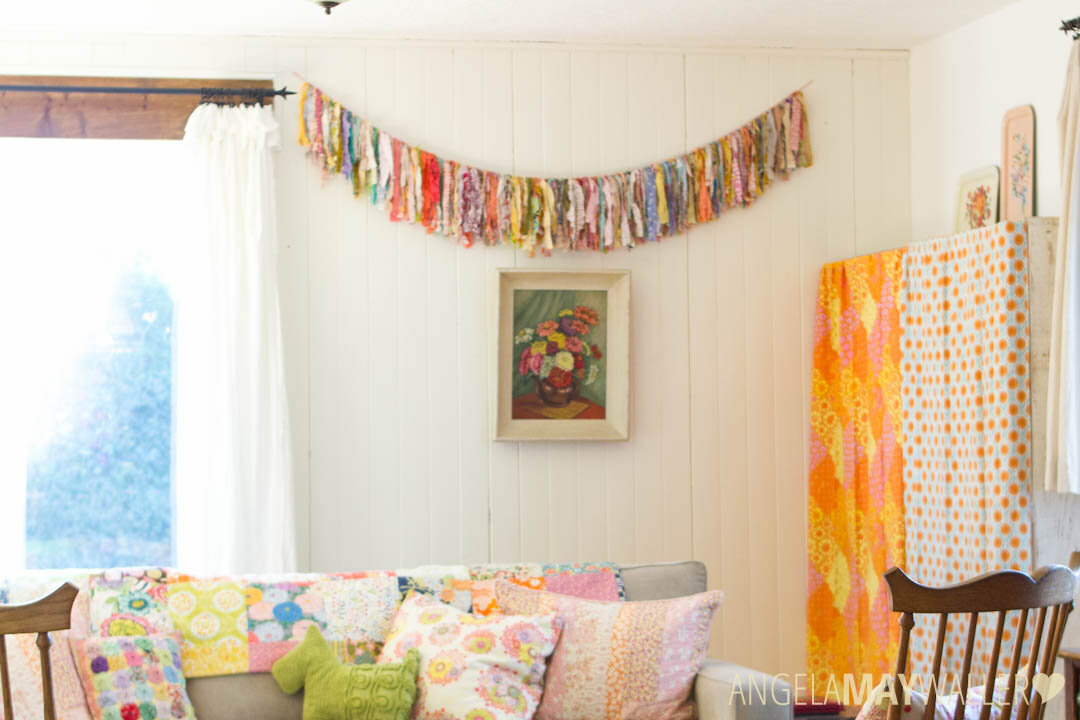
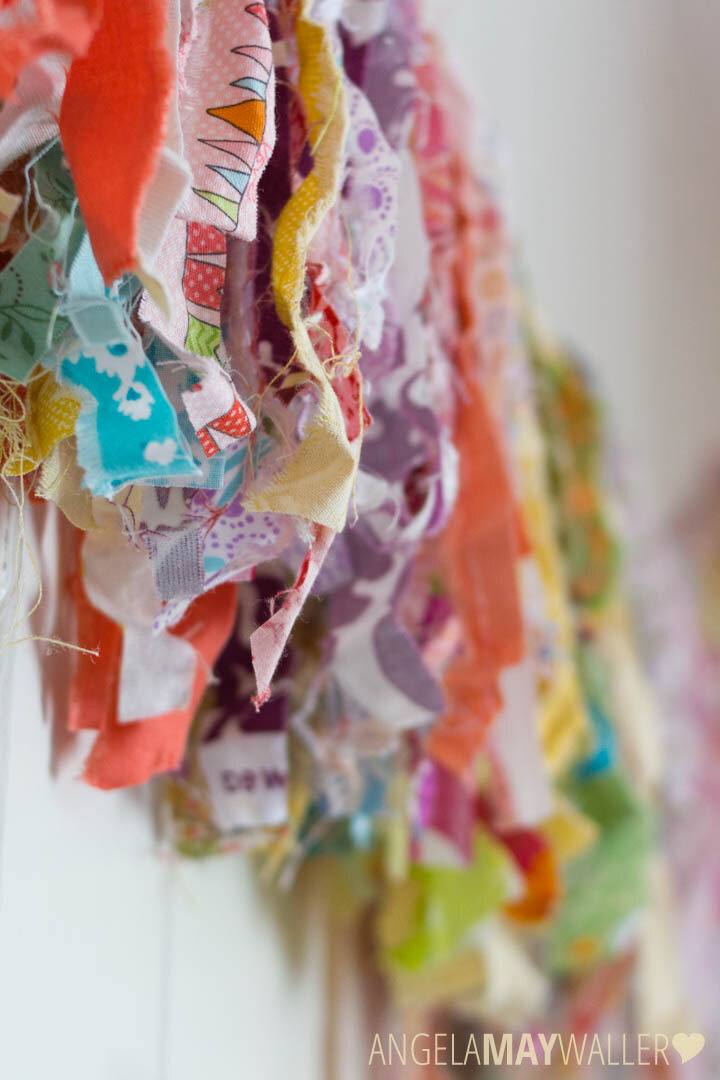
A few years ago I worked on making my family room into a cheerful, bright space and one of the projects I did at the time was to make a rag garland out of scraps of quilting fabric saved from projects gone by. (You can see the original garland reveal in my blog post Scrappy Rag Garland.)
I’d always wanted to make a rag garland, especially since I had so many leftover strips of quilting fabric. I had put it off because I thought it would take forever to do, like crocheting an afghan or similar. But in fact, once I got started, it only took a couple of hours to finish.
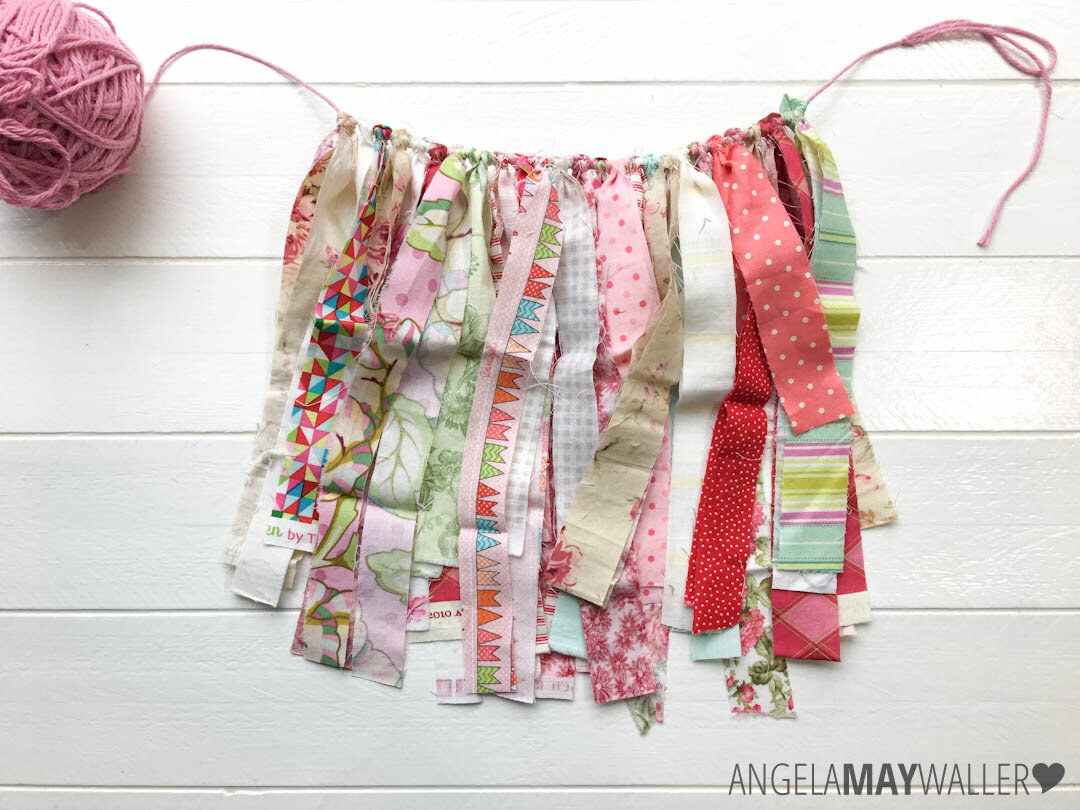
I’ve had several people ask me how I made it, so I will share! My garland is about 6’ long (not including the hanging yarn) and hangs about 10” down. The fabric I used for mine was saved from previous quilting projects, and the strips range from 1/2” to 1 1/2”, but you can use new fabric, too.
Read on for the step-by-step details!
Rag Garland Project Overview
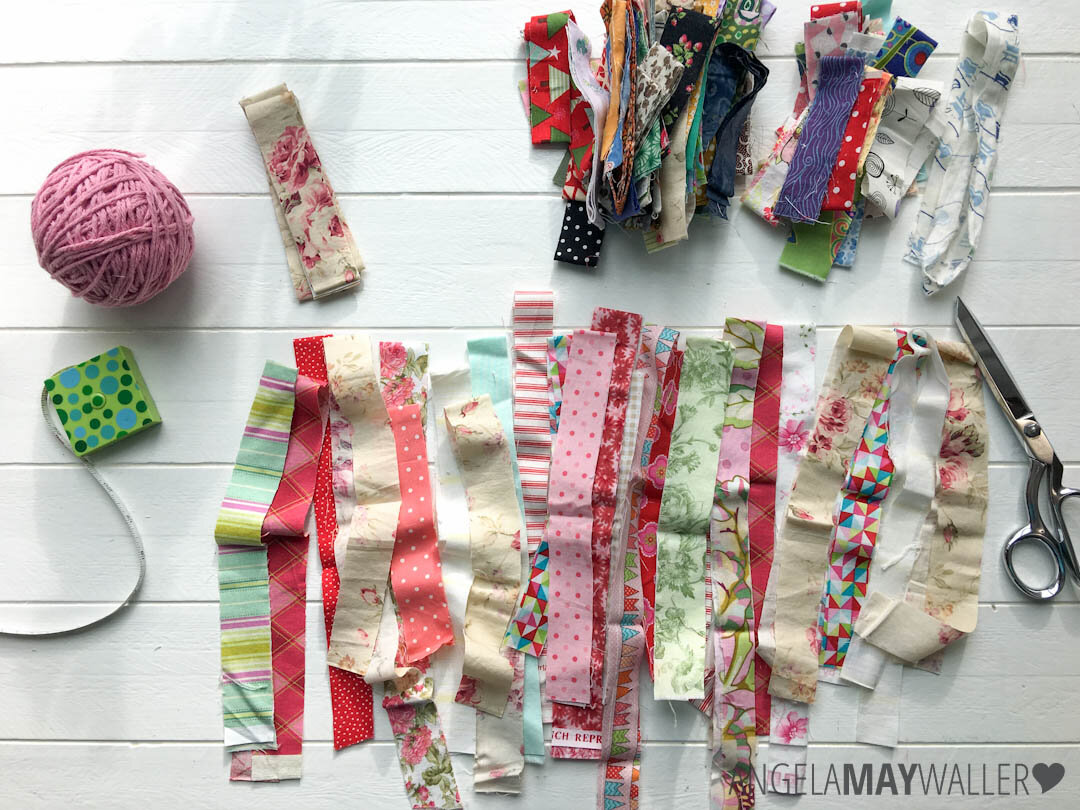
Step 1: Gather Supplies

Supplies for this project are very simple. You just need:
-
Yarn or string
-
Tape Measure
-
Fabric Scissors
-
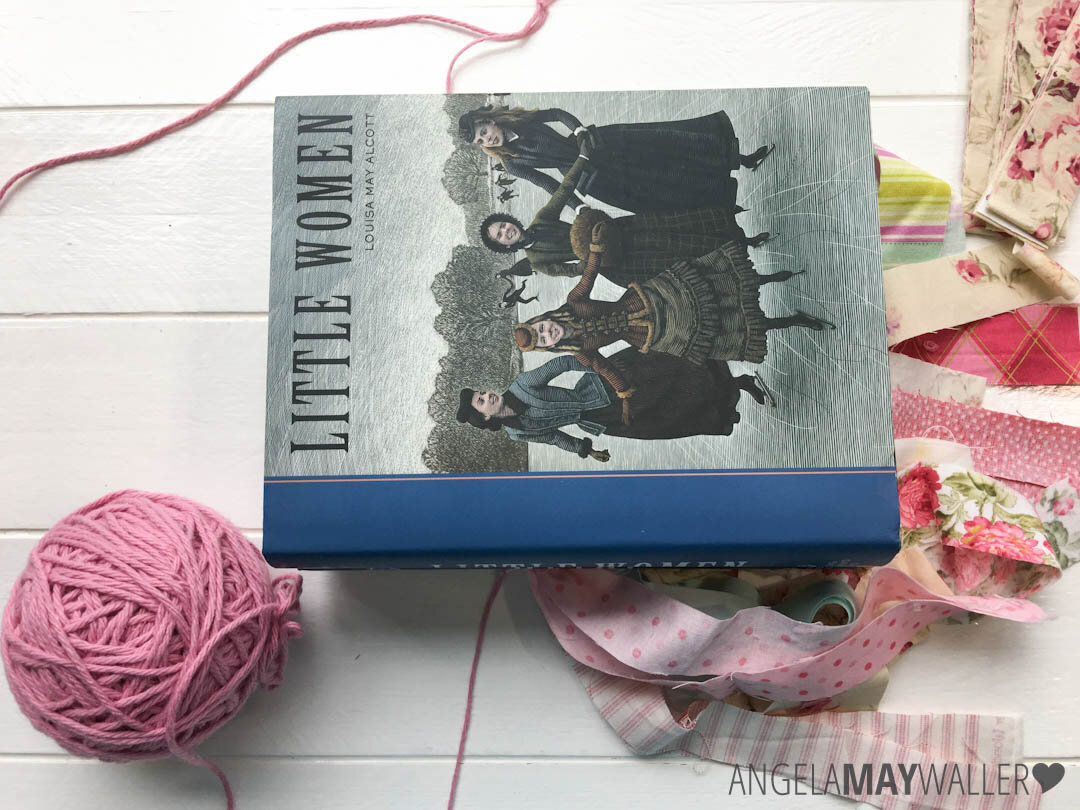
Something heavy (like a thick book)
-
Fabric strips
NOTES:
The fabric strips I used ranged from 1/2” to 1 1/2” but were mostly around 1”. Because mine were strips left over from cutting out quilts, they weren’t even, either, they might be narrower at one end than the other. The narrower the strips are, the fluffier the garland. Also, the easier it is to keep the front of the fabric visible after knotting — wider strips tend to want to flip so the back of the fabric is showing.
While it depends on how narrow your strips are, in general I have found that it takes about 40 tied strips per foot of garland. So for a 6 foot garland (like mine), you need about 240 strips ranging from about 20”-30”.
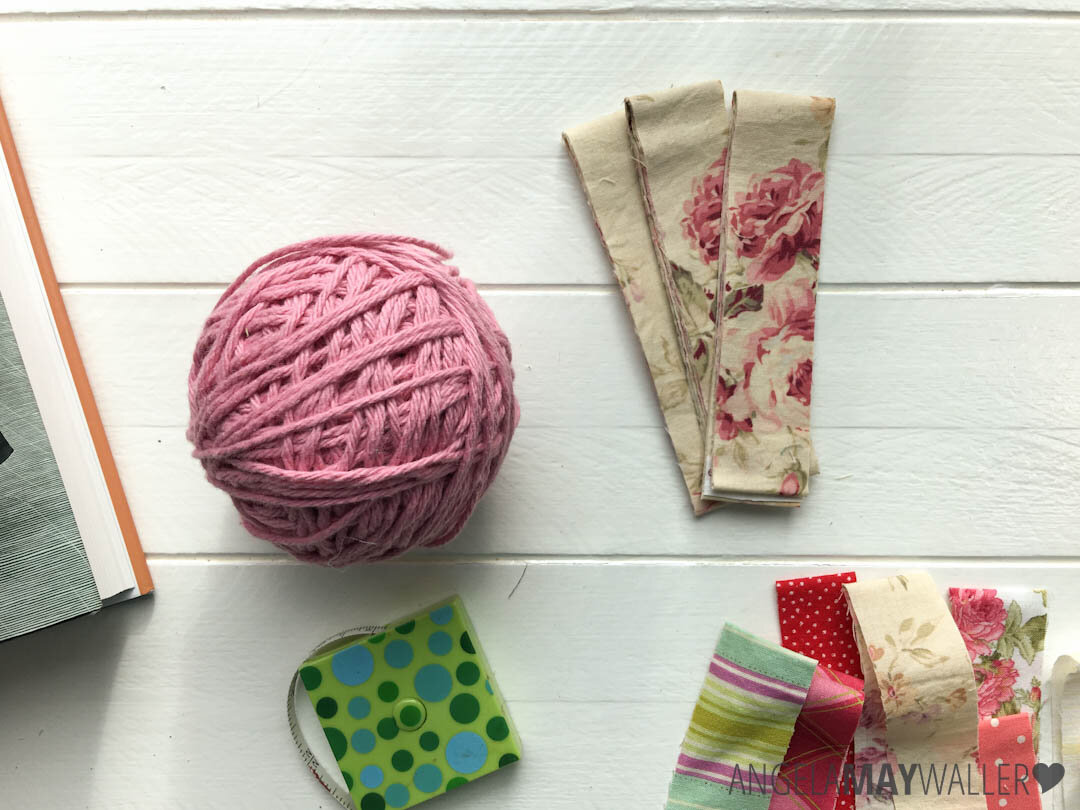
While I used yarn for this project, if I did another one I would get some cotton string. It’s a little stronger and will be less prone to breakage (more on that below).
The texture of the garland also depends on how the fabric strips are stored or treated. My original garland (pictured at the top of the post) had strips that had been wadded up in a box, so they were all crinkly. The garland I made for this tutorial was made from strips that had been neatly folded in a scrap bin, so they were more flat. You could also iron the strips for extra flatness or scrunch them with your hands for extra crinkle-y-ness.
Step 2: Prepare Fabric Strips
If you are working with scraps, you are looking for strips more or less 1” — a variety of widths from 1/2” up to 1 1/2” is nice to create additional texture, but mostly you want strips about 1” wide. They don’t have to be the same width the entire length. If you are cutting new fabric, cut around 1” strips but vary them a little for variety.
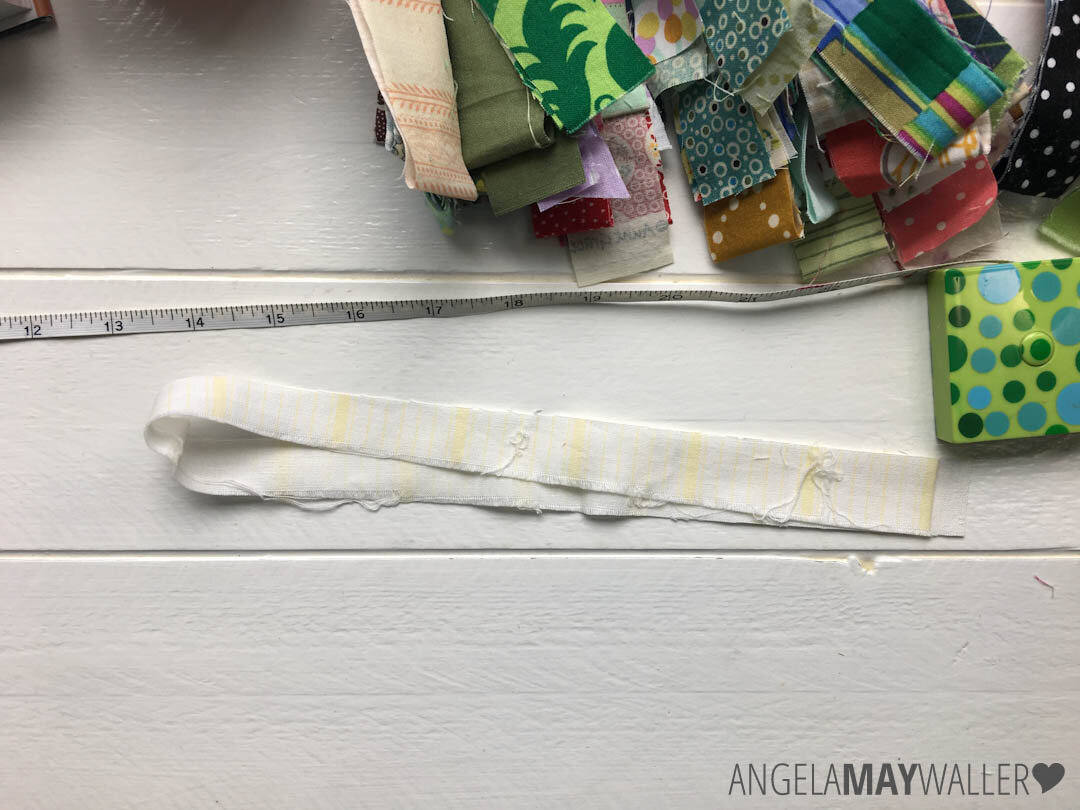
To make a garland like mine that hangs down about 10” and is about 6 feet long, you need about 240 strips of fabric that range from 20 inches to 30 inches. When folded in half, this makes each strip around 10-15” long.
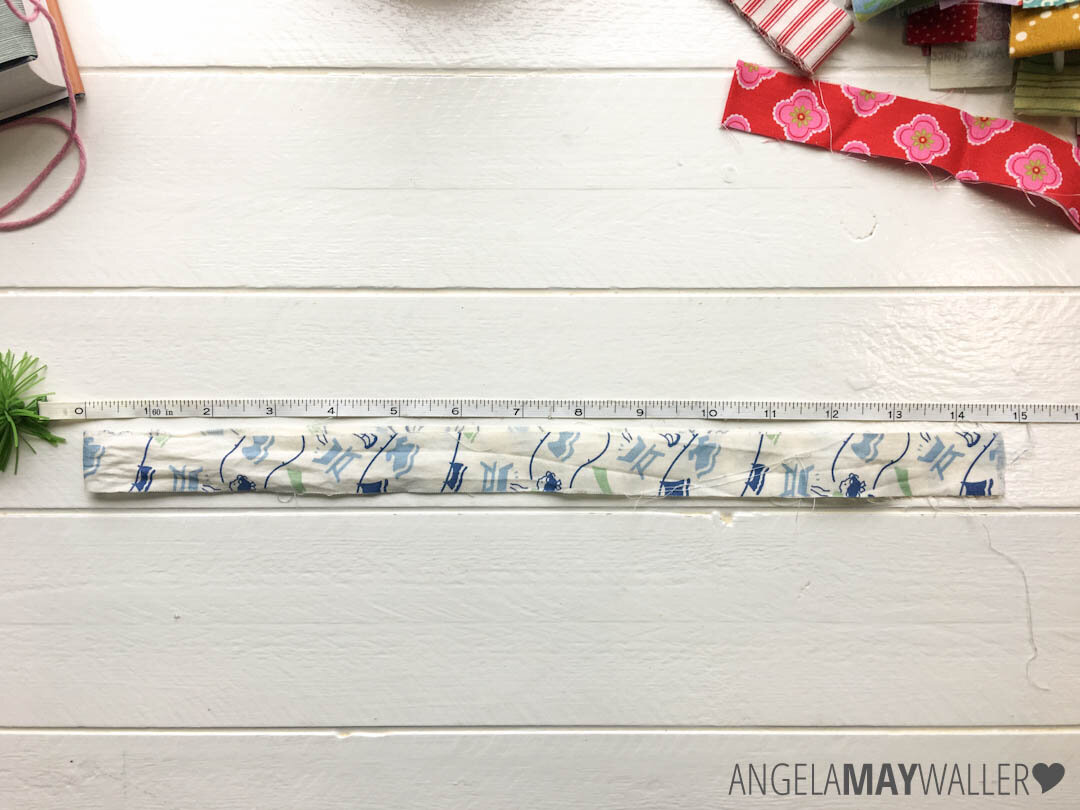
When working with scraps, what I do is lay the tape measure out on the work surface and put each folded strip up to the tape to make sure it is around 10” long or more. I do sometimes include short strips if they’re can’t-pass-it-up prints, but I try not to do this more than about every 10 or 20 strips or so.
If you are working with new fabric or have many full-width strips, you can simply cut each strip from the width of the fabric, then cut on the fold line to cut each strip in half like so:


Step 3: Assemble Candidates
As you cut or find strips that will work, start to lay them out to get a general feel for the colors and textures. Don’t be afraid to try things — you might be surprised that it works!
If you find several of the same color or fabric, set them aside so you can continue to use them throughout the length of your garland. You want to try and distribute the fabrics as well as you can.
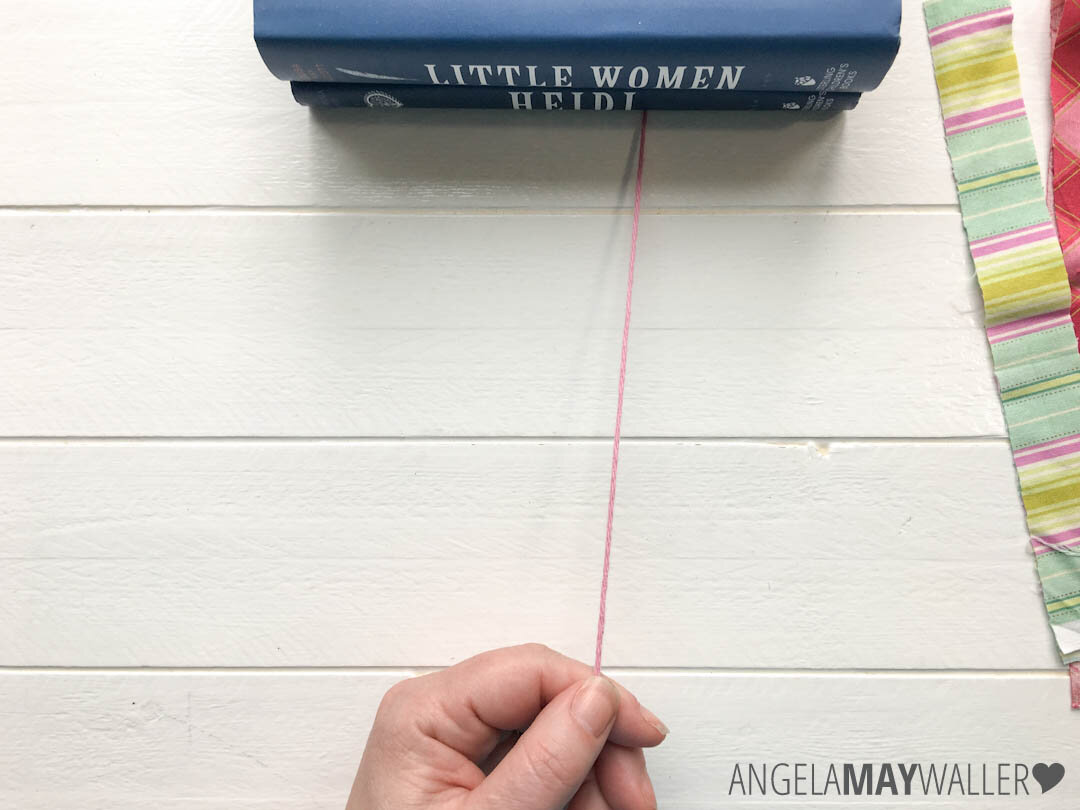
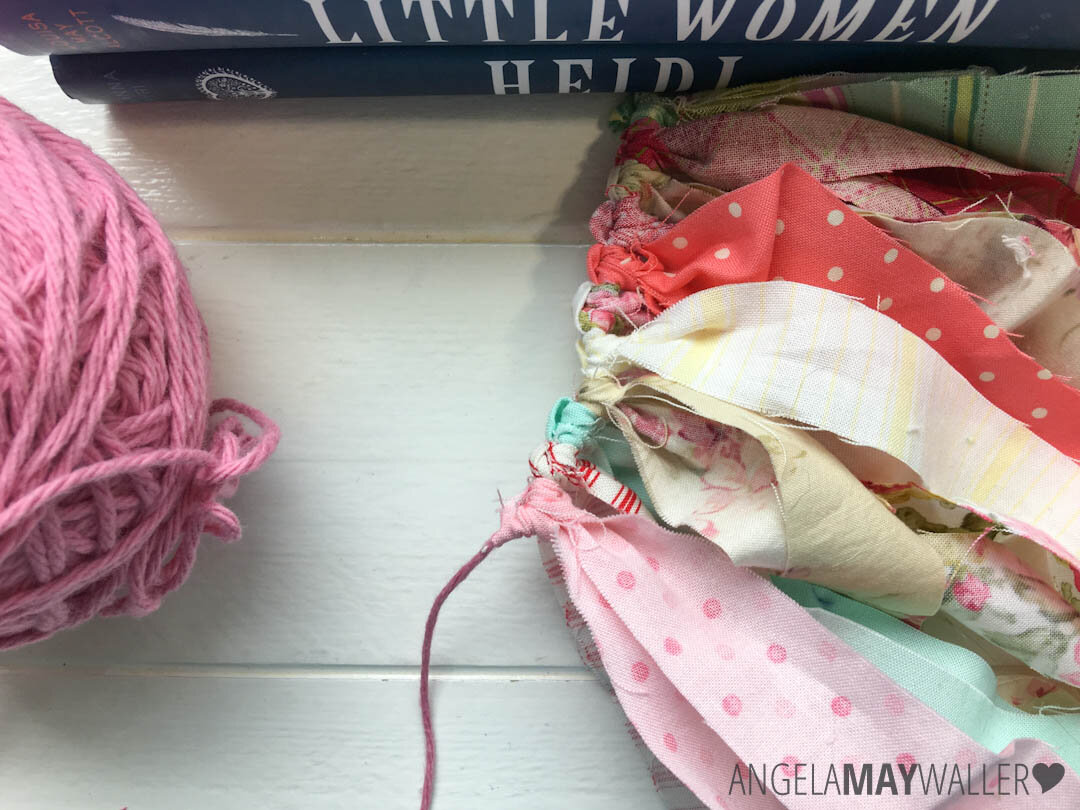
Step 4: Set Up to Tie
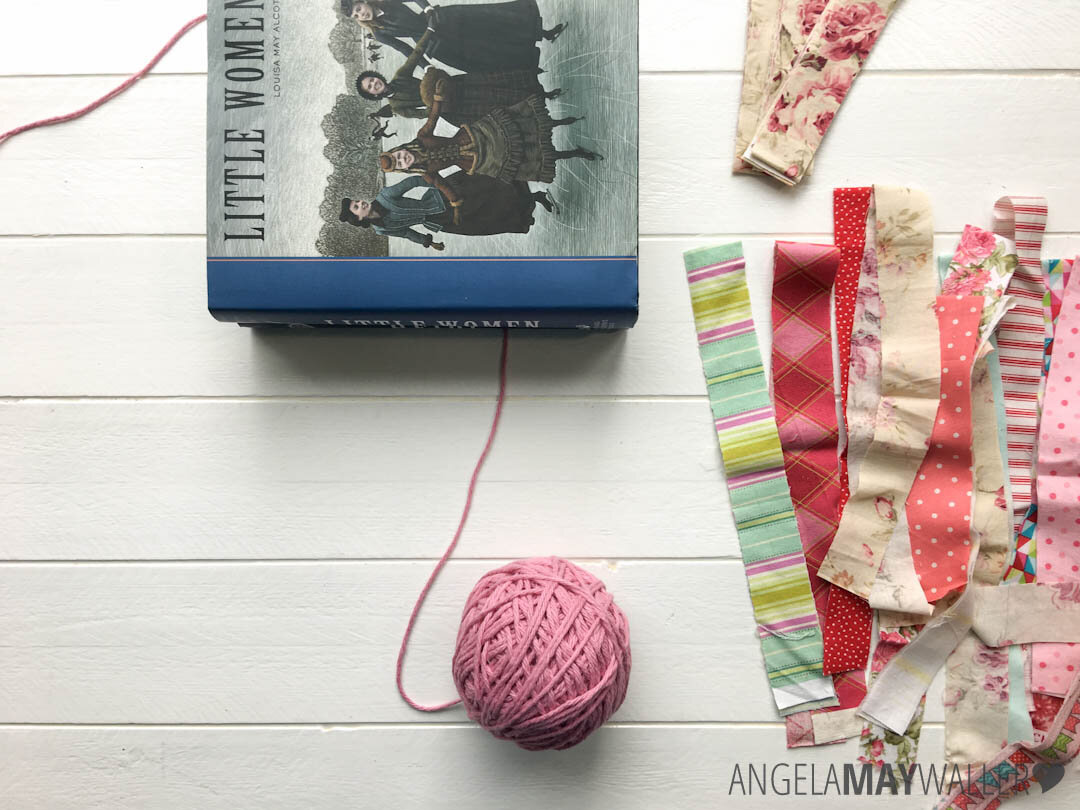
To set up for tying, you will want to be at a comfortable work surface. Reel off a long lead of your yarn or string (I go for lots, like 3-5 feet). Use your books (or other weight), to weight down the end of the yarn so that it is facing away from you and the ball of yarn is toward you. When you start trying, you will drop the ball of yarn into your lap.
Note that the books are just there to serve as a third hand — they won’t keep you from pulling the whole thing off the table if you pull really hard! Don’t drop a book on your foot!
Step 5: Attach First Strip
Once you are set up, you are ready to tie! Put the ball of yarn or string in your lap and begin.
These instructions are written for someone right-handed. If you are left-handed you will probably find it more comfortable to work in the opposite direction, mirror image to what I’m showing here.
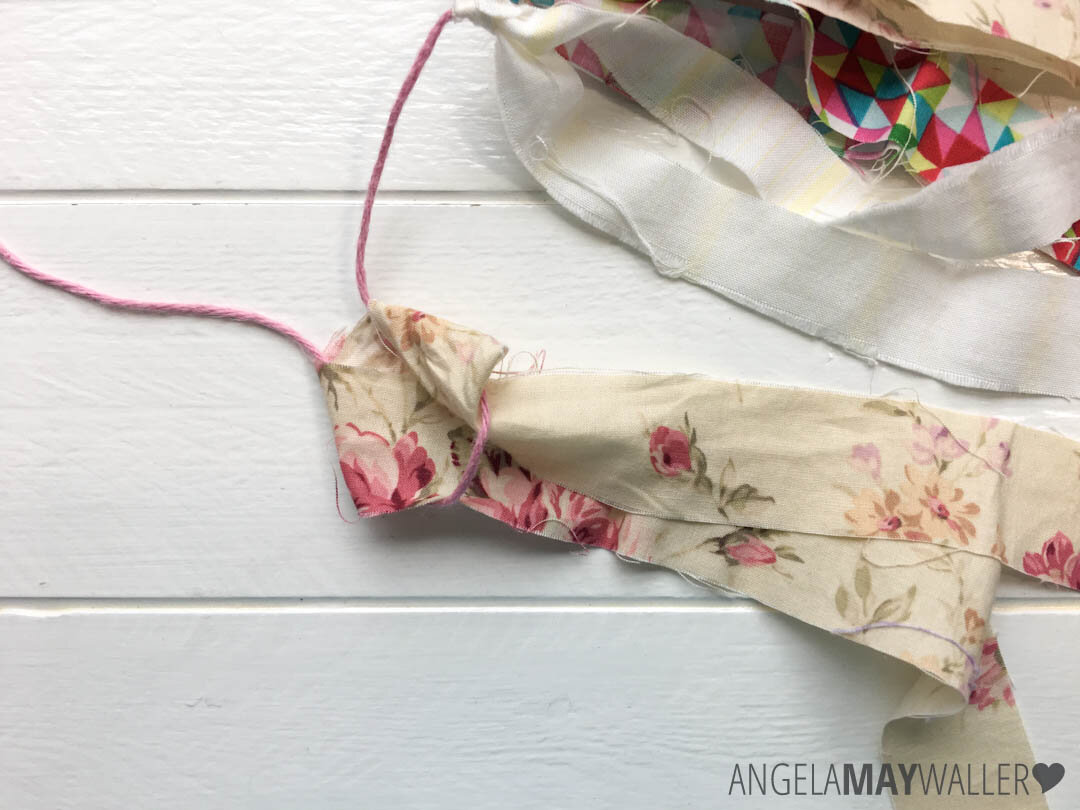
NOTE: You are working from the right side of the garland to the left, so the first strip you put on will be on the right hand side once you hang the garland up.
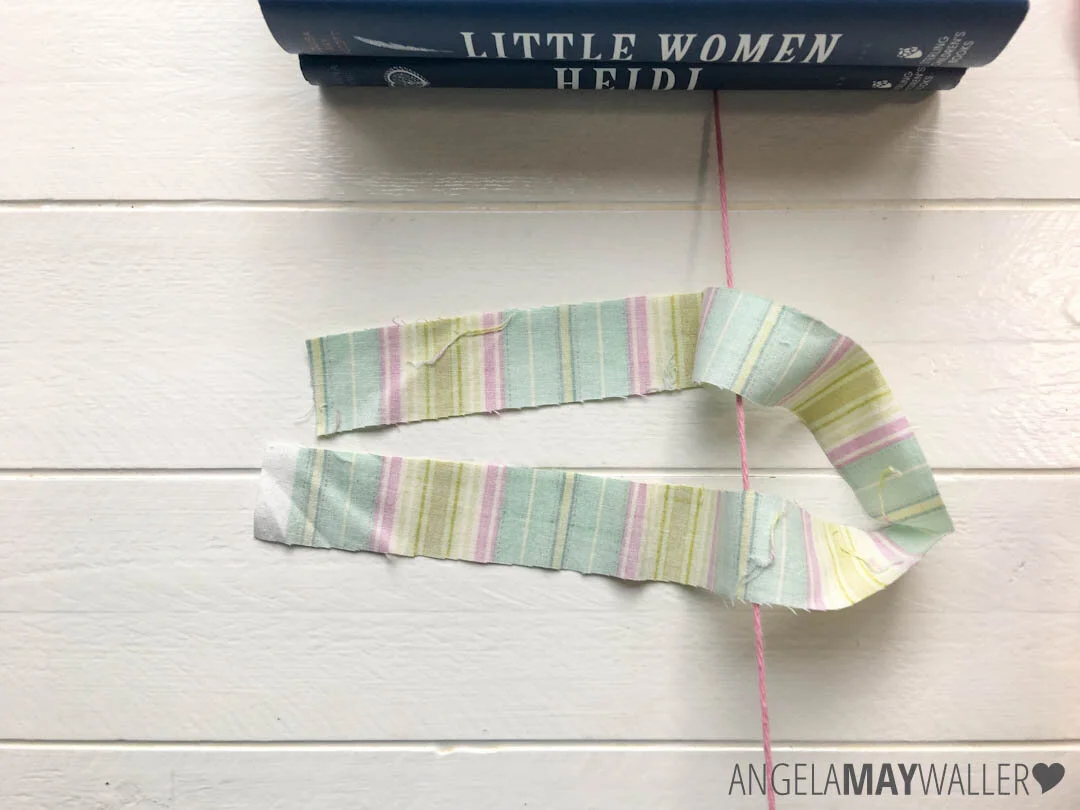
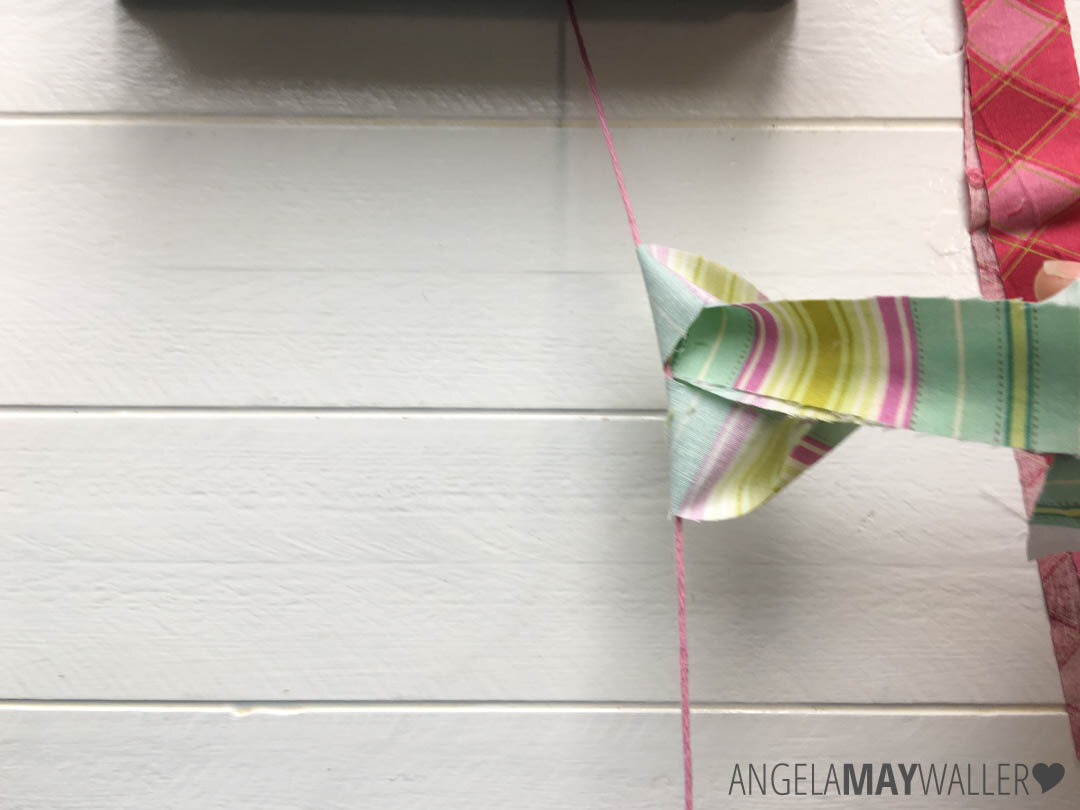
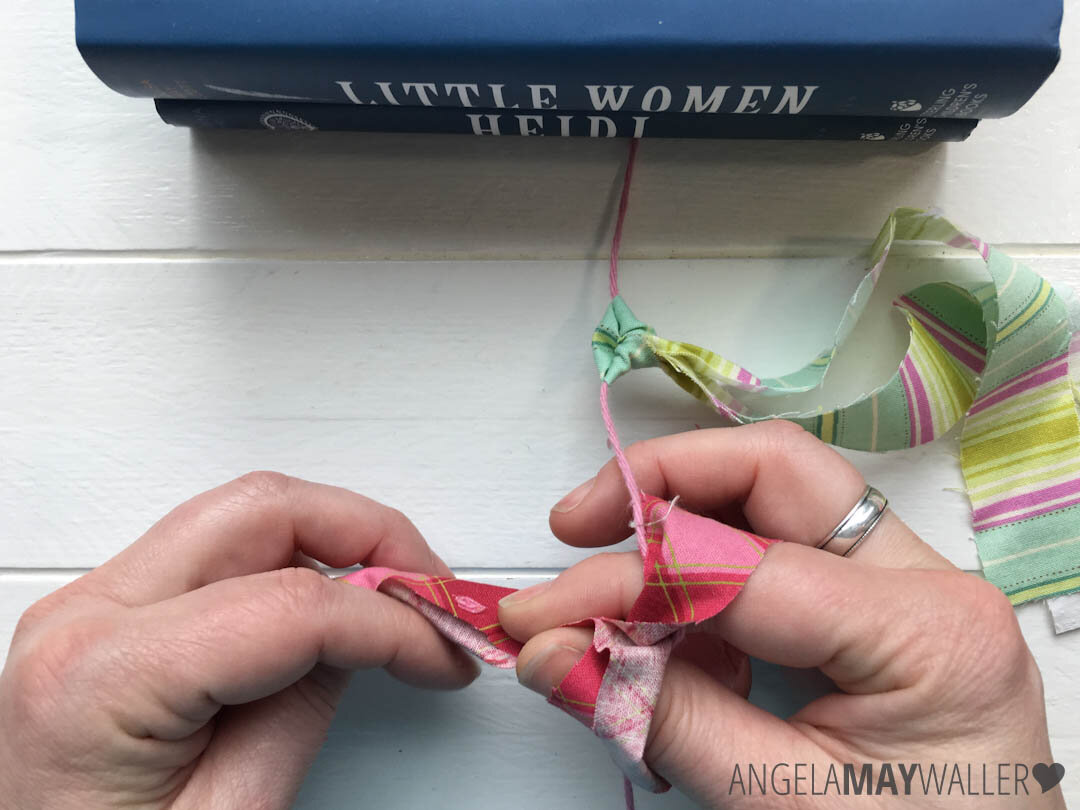
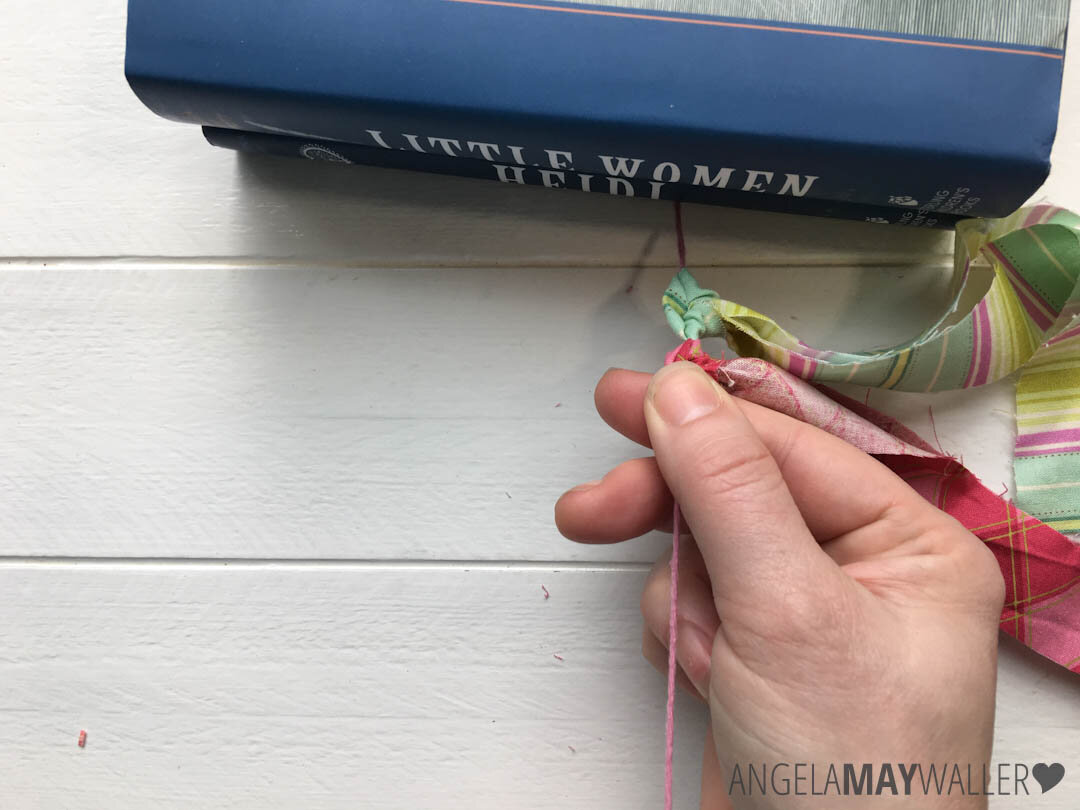
Hold the string taught with your left hand and place the folded strip across the string with the fold to the right.

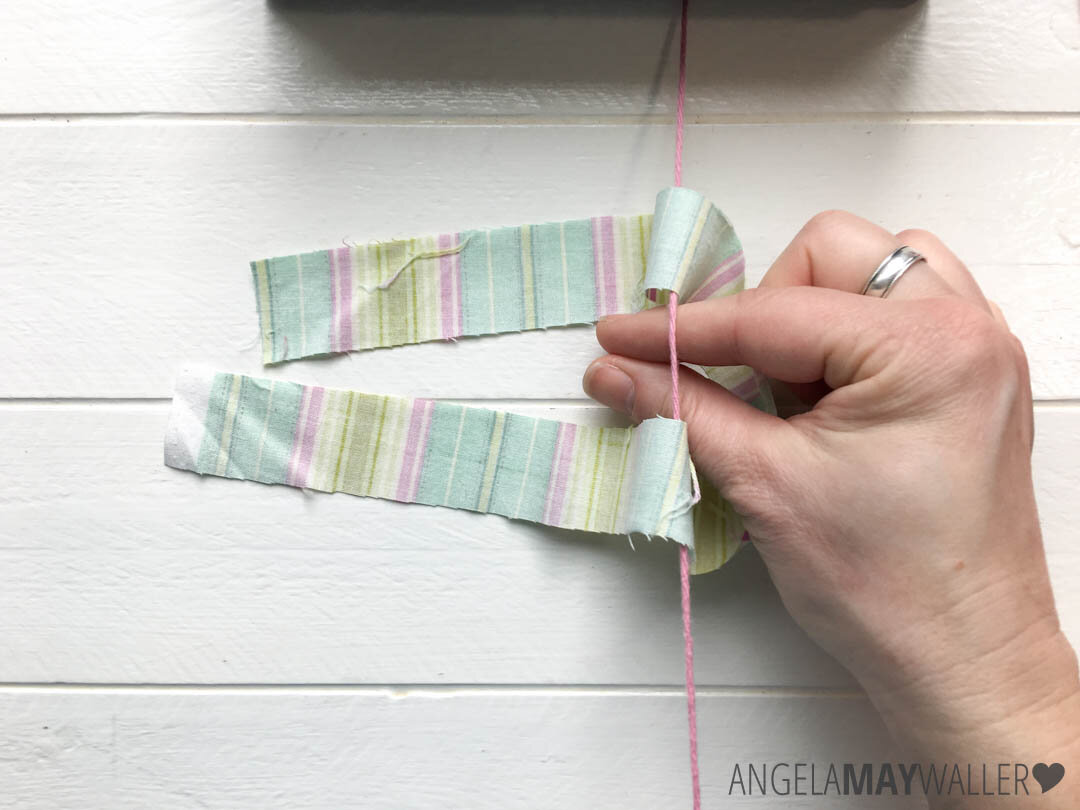
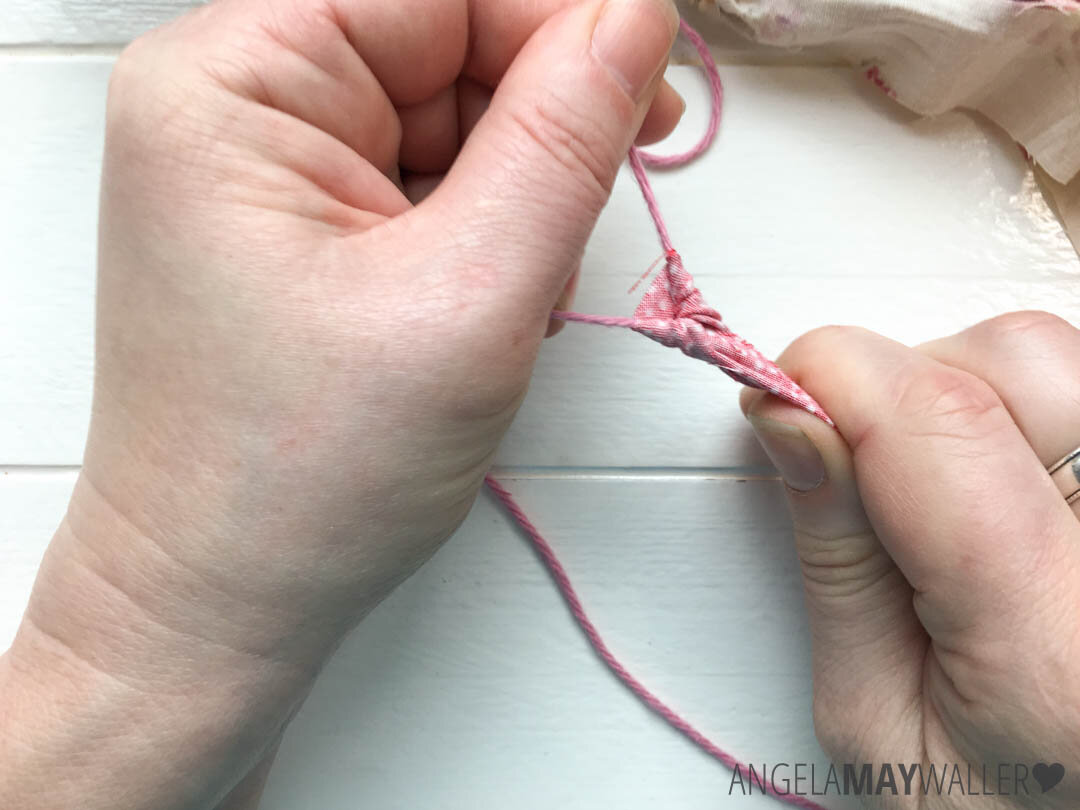
With your right hand, make a “birdie beak” or “pinchers” and poke them through the loop, under the string.

Once your fingers are through, open them up so you can grab the tails.

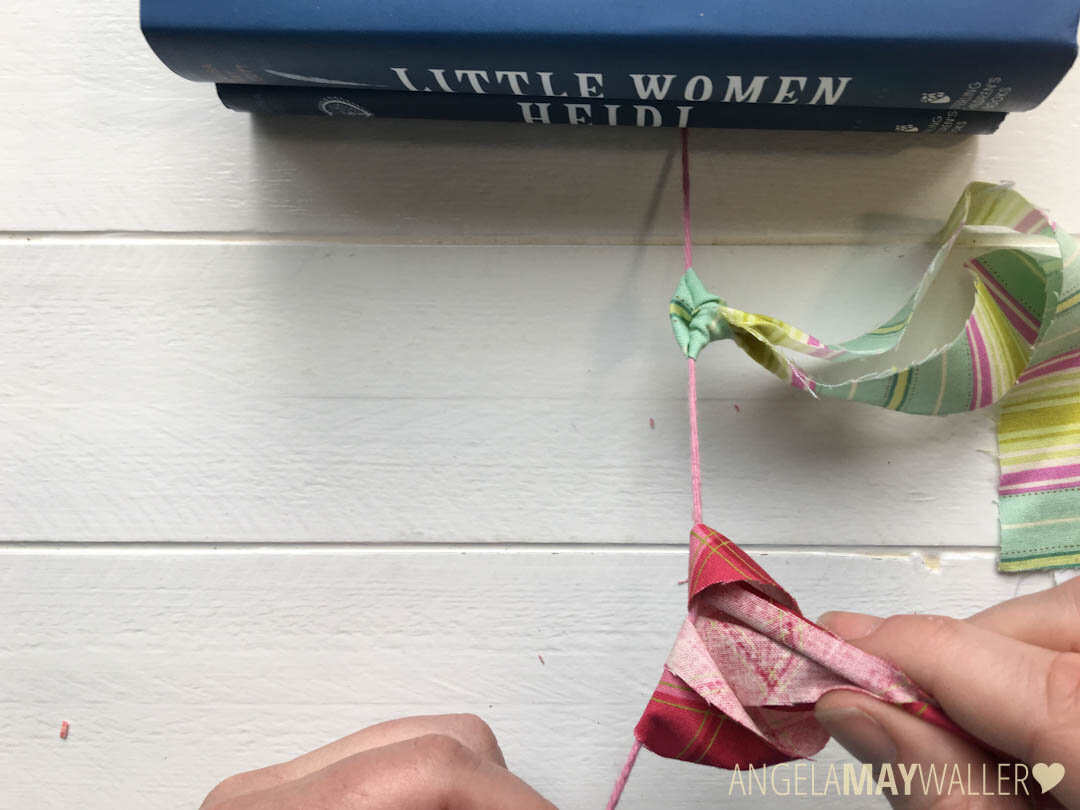
Grab the tails with your pinchers.
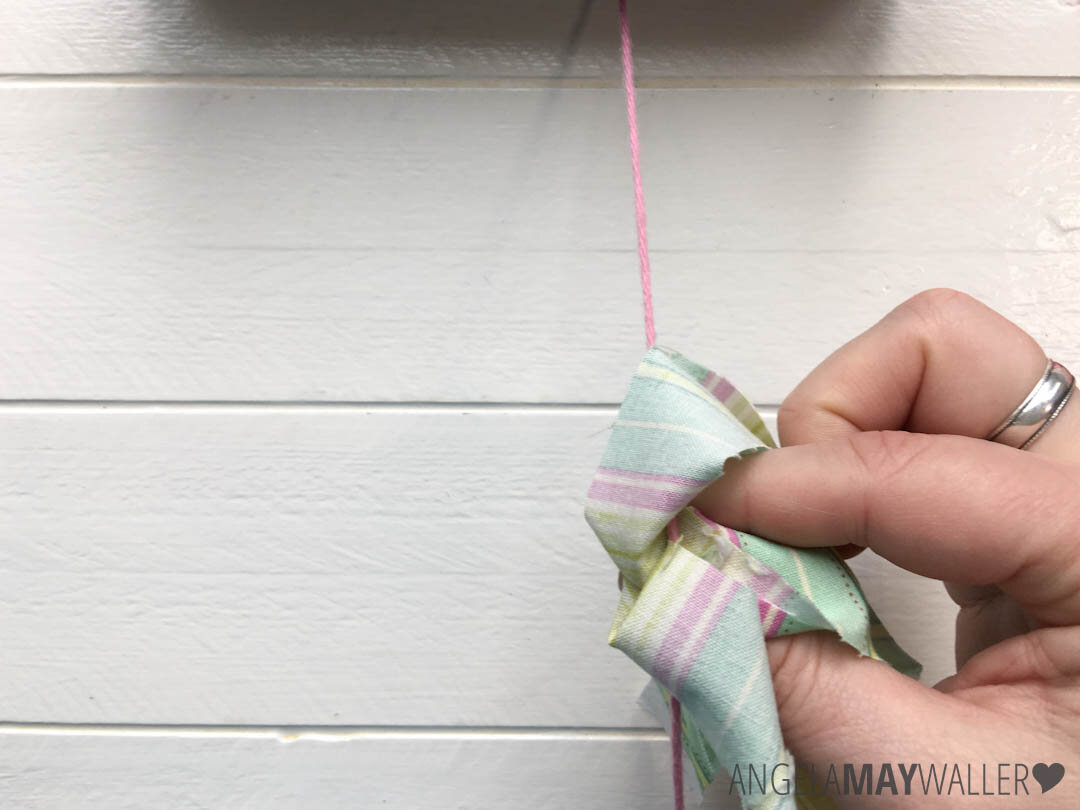
Pull them through.
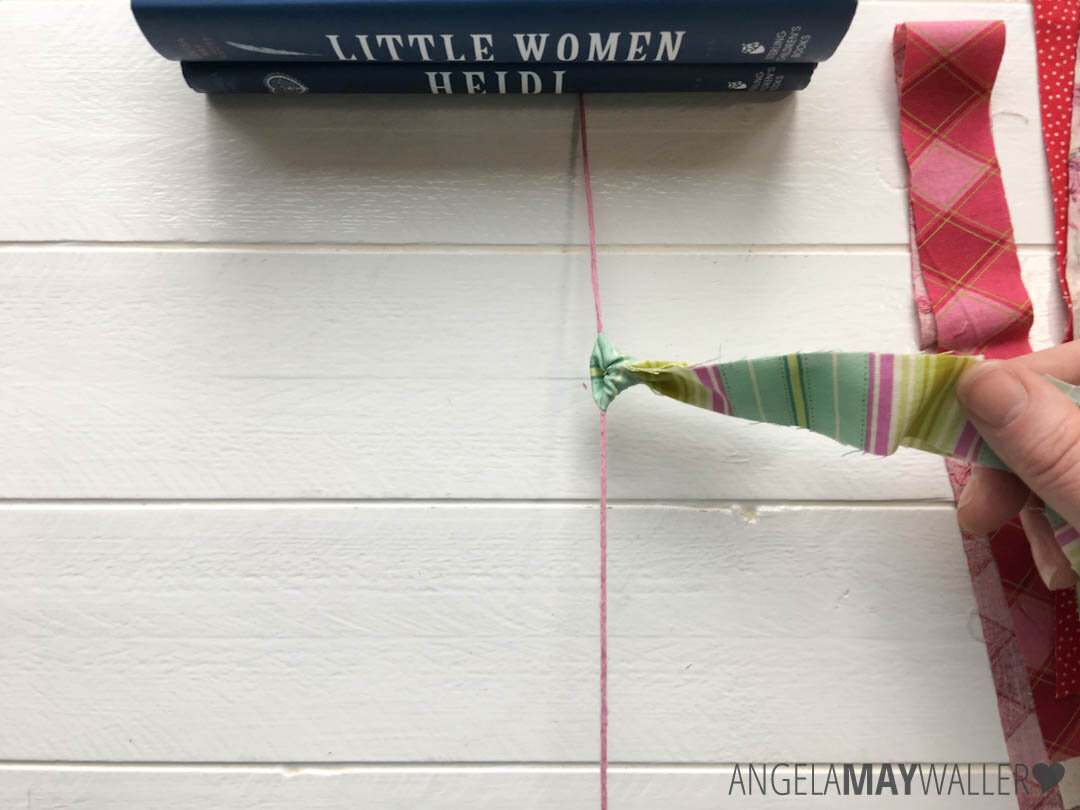
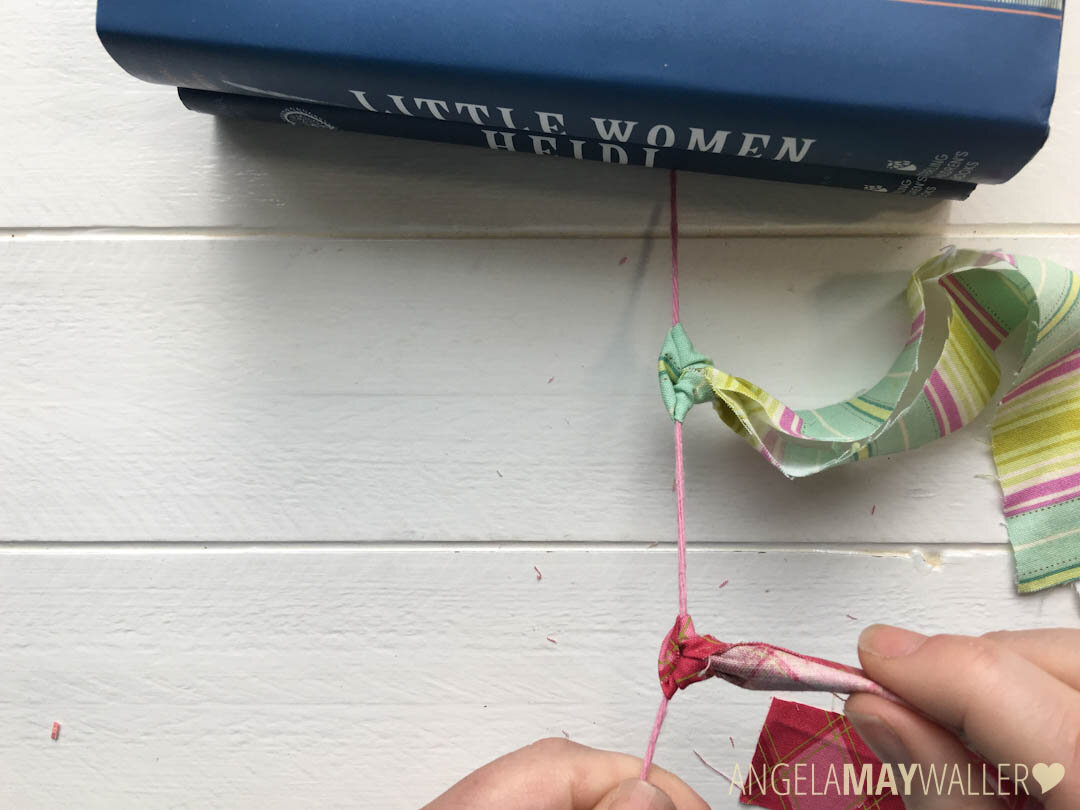
Once the tails are through, pull the knot tight.
Tips on avoiding breakage, adjusting the tie and how to tie faster are in upcoming steps!
Step 6: Slide Knot Down

Now that your knot is tight, push the strip down to the end of the string and begin the next one.
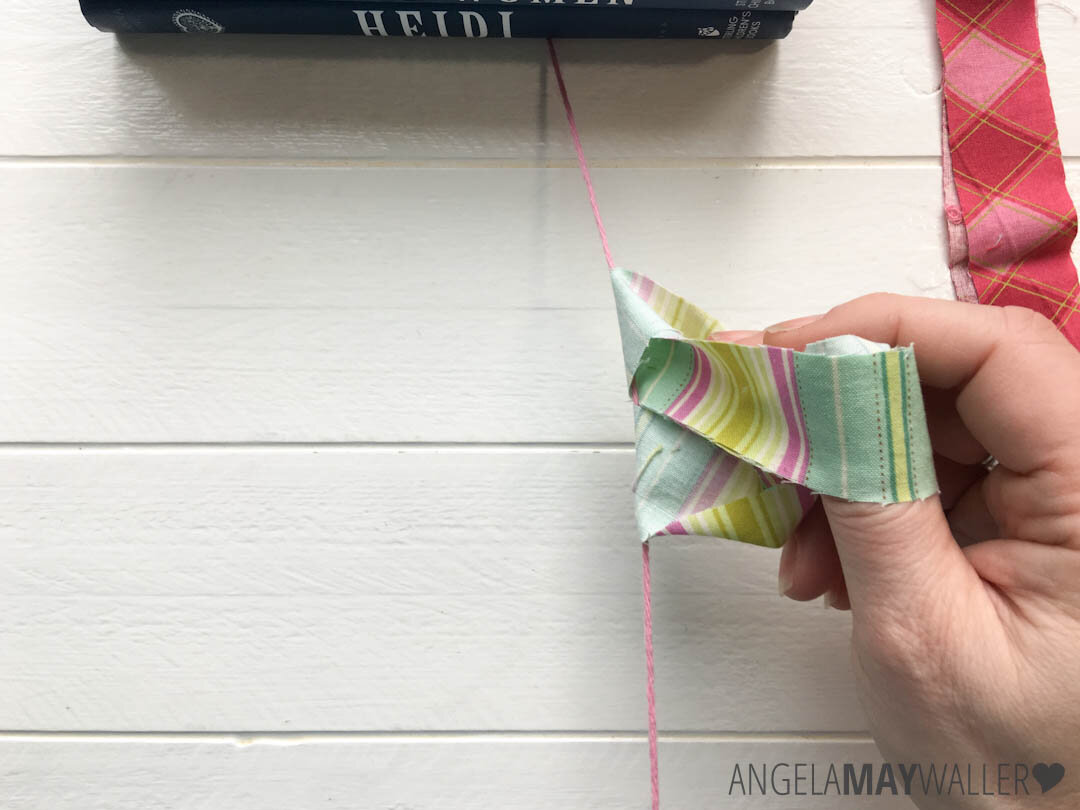
Step 7: Adjusting the Strips
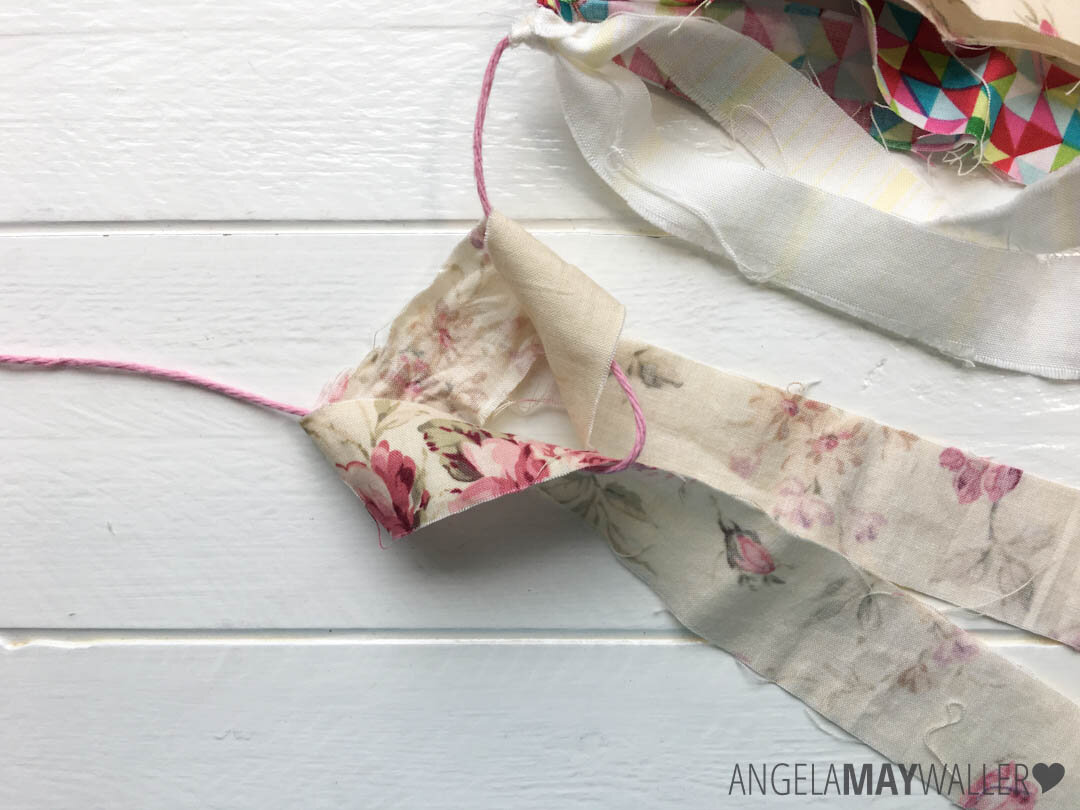
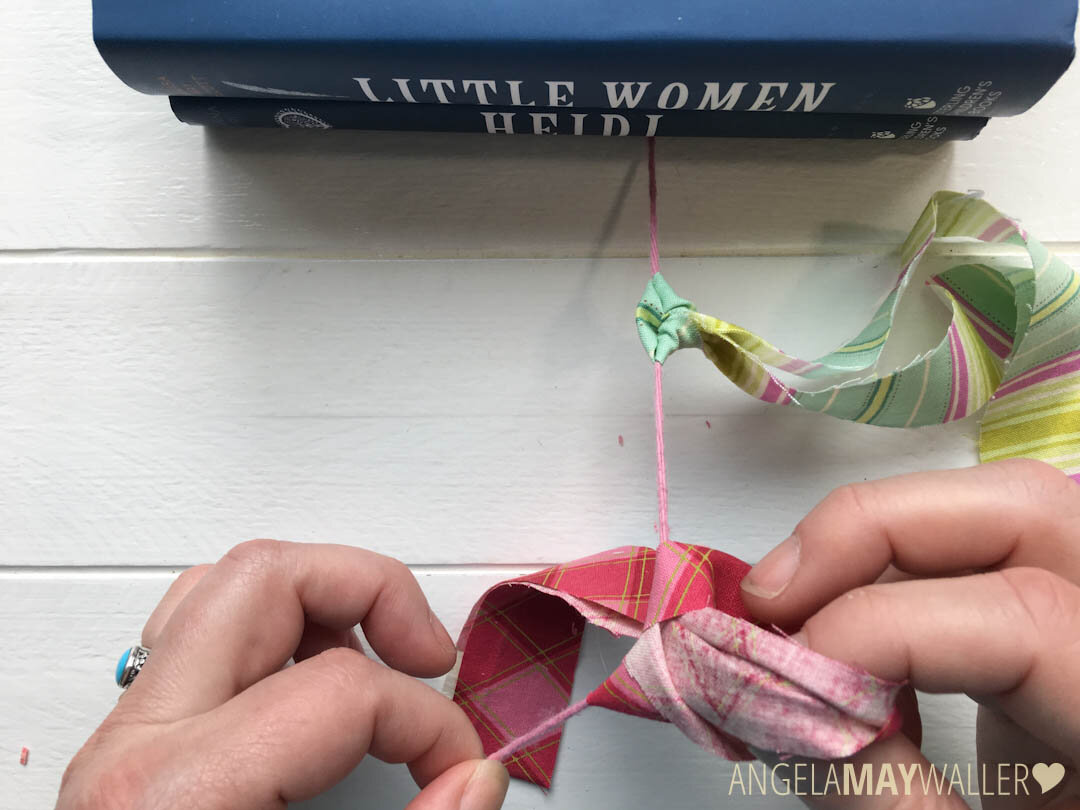
Sometimes when you are pulling the strips through, they will flip so the backside is showing, especially if the strips are on the wider side.
When this happens, just adjust the strips before you tighten the knot.
Step 8: Avoiding Breakage
In order to make the knots as tight as possible, I usually use two hands to really pull it tight. The only problem with this is that you can break the yarn! It’s easy to tie it back together and the ends disappear in the garland, BUT, to avoid this you can do a couple of things:
-
Be gentle with your knot pulling
-
Try to vary the spot that you pull on to tighten the knot — don’t just pull them tight in the same spot over and over again
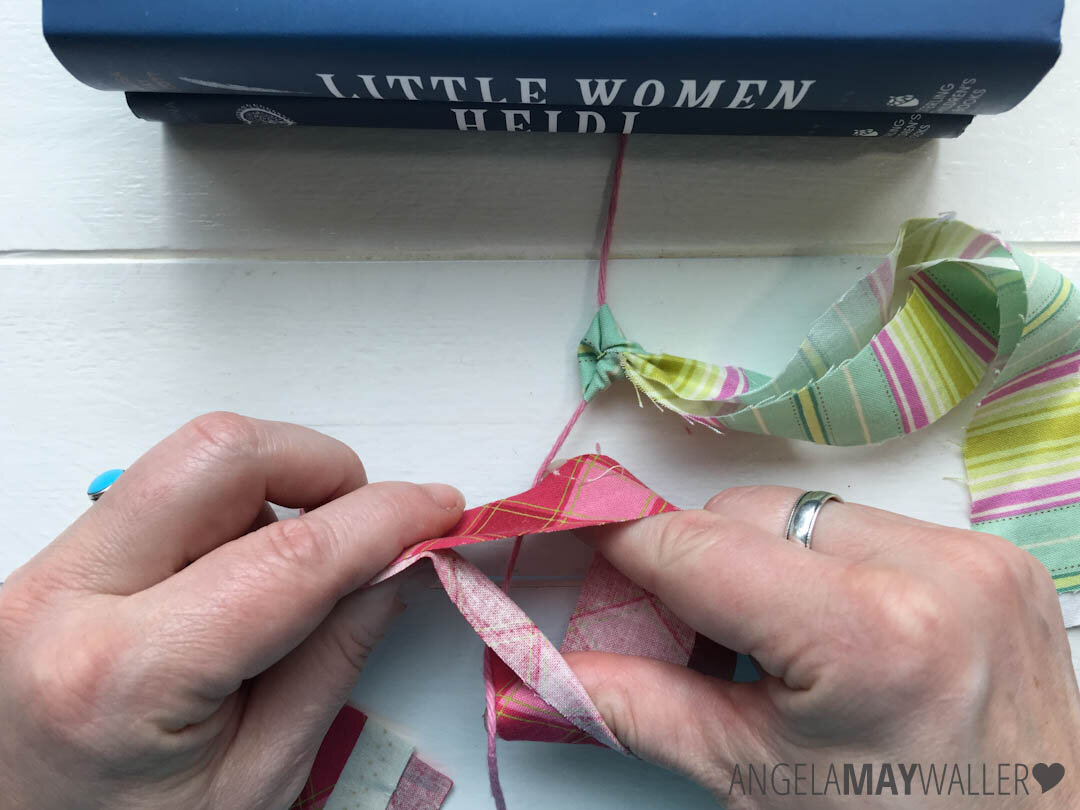
Step 9: Tying Faster
In order to get going faster and get the garland done in less time, once I get oriented I tie with two hands. It’s the same process as above, just using my second hand to keep things steady and moving along. Like so (read left to right, top to bottom):
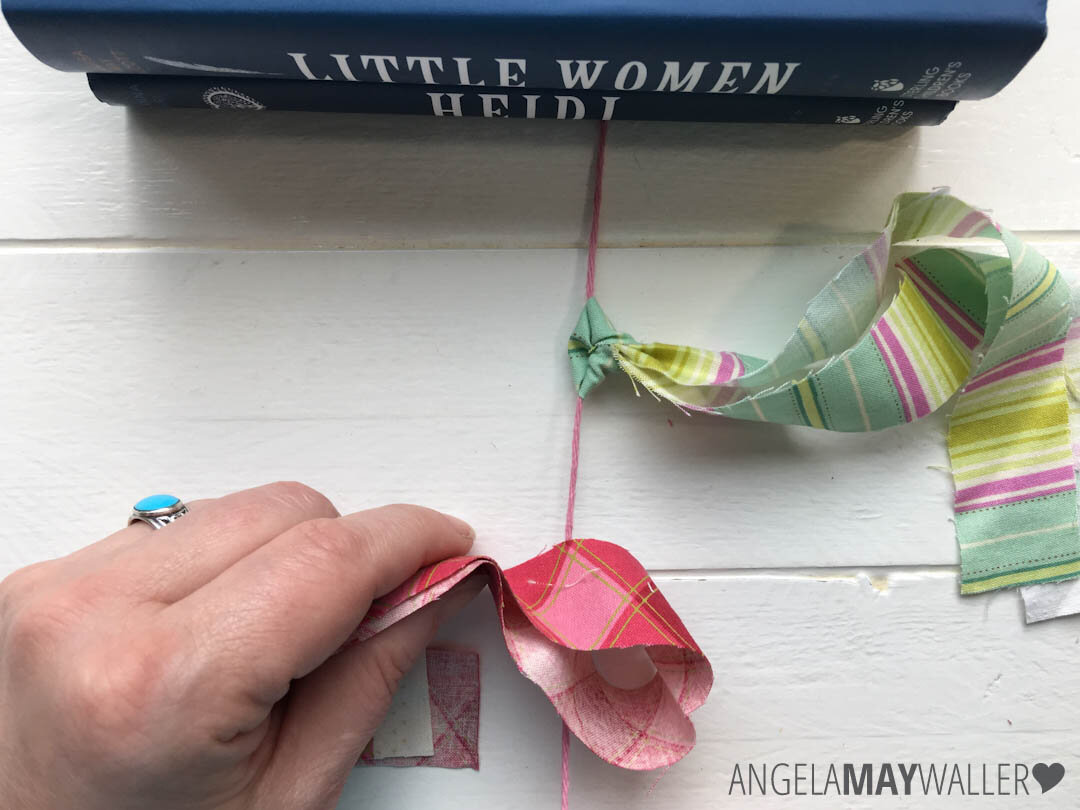

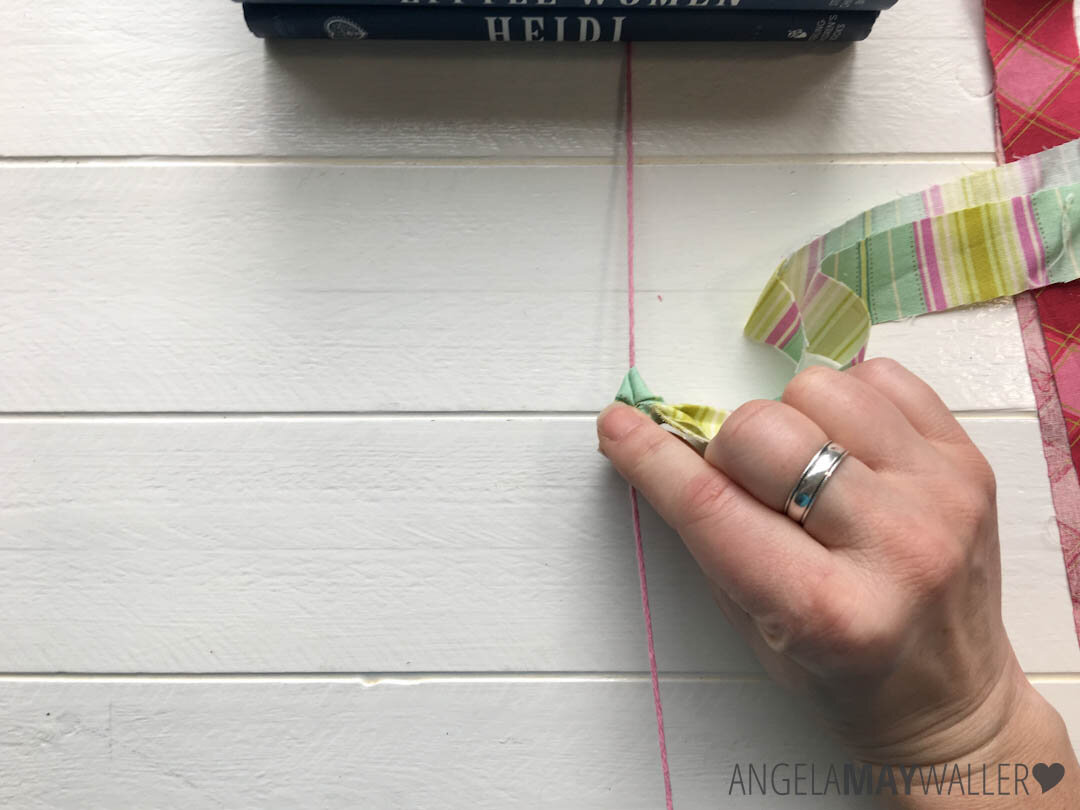
Step 10: Adjusting Your Tying Setup
As you tie, your garland will start to grow and become unwieldy. So, every few inches, readjust so that the book (or other object) is right at the end of the garland, like so:
Keep adjusting and moving your weighted object until the garland is as long as you want it to be.
Step 11: Trim the Garland
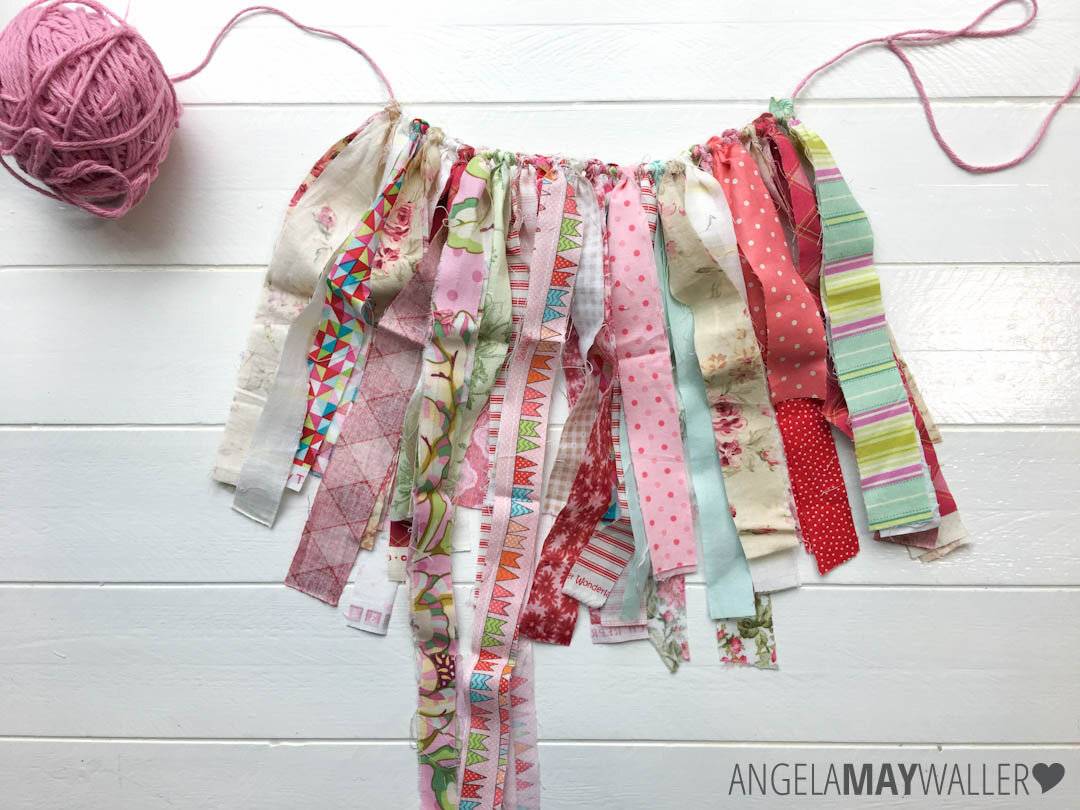
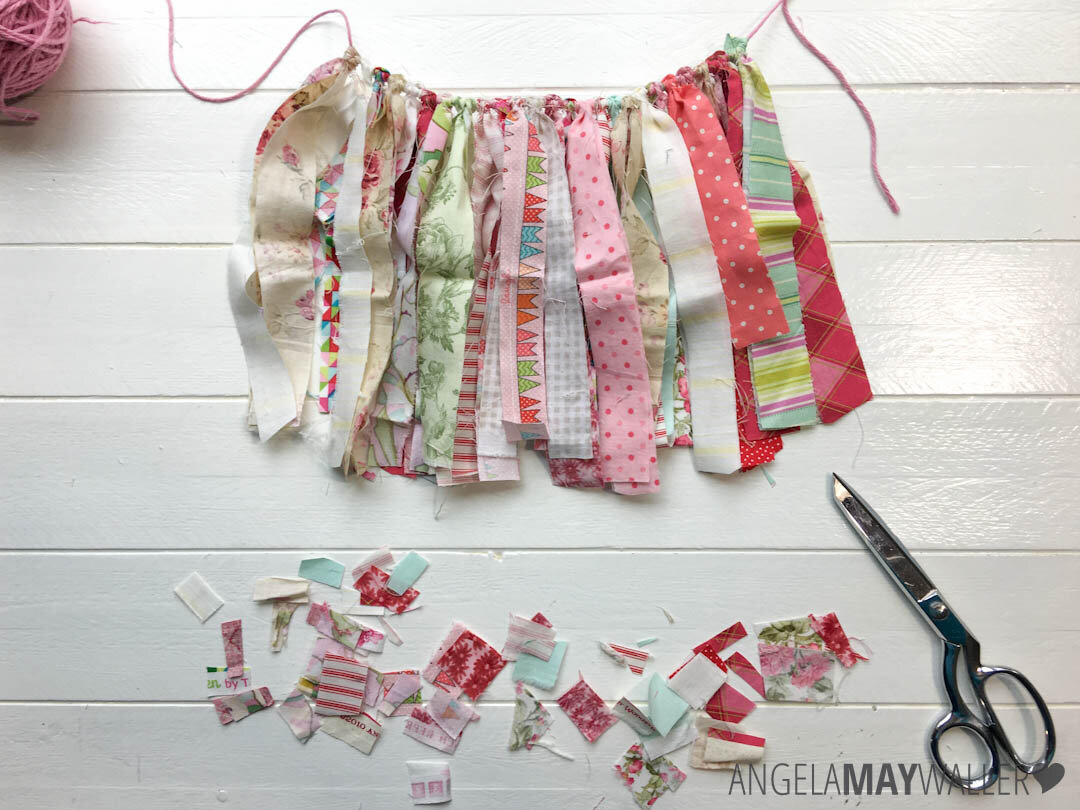
Once you’ve tied on all of your scrappy strips, it’s time to trim your garland up. It will be mostly even but have some long stragglers.

Lay your garland out (or hang it up) and start by trimming off the really long stragglers.
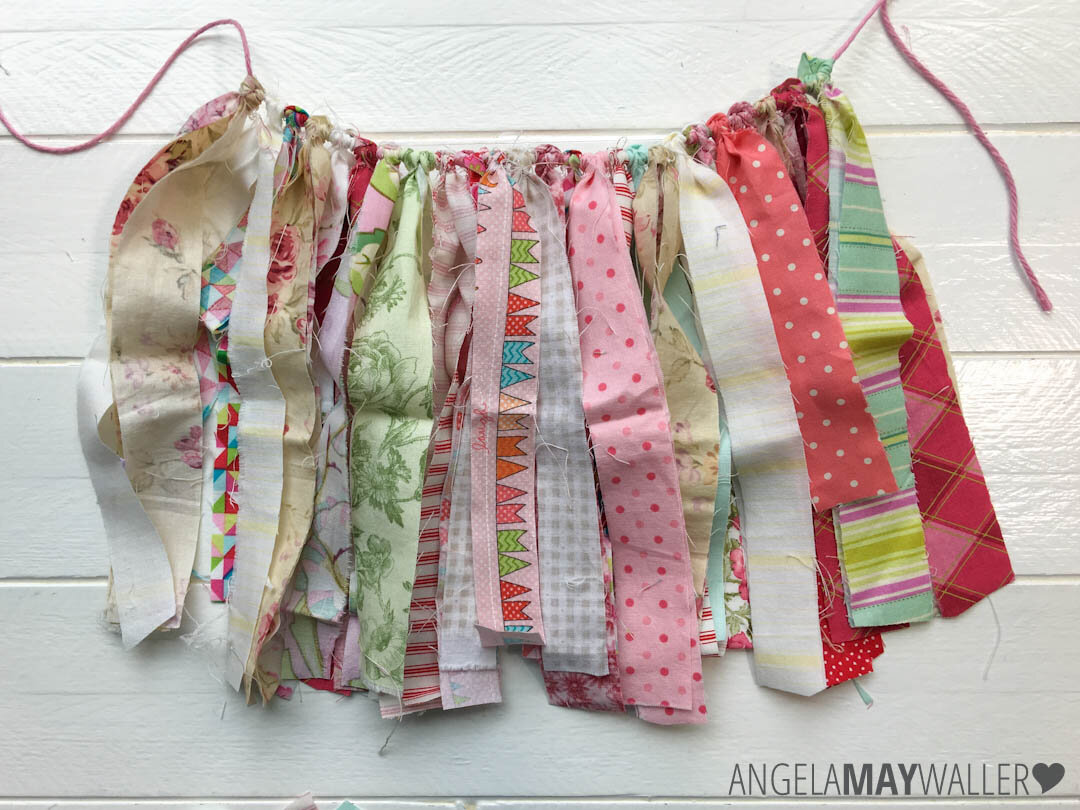
At this point the garland will be somewhat uneven, but still totally usable. You can decide to use it as is for a more impromptu look, or you can trim the garland up to make it more even.
Trim slightly for a longer, wilder garland, or trim more for a slightly shorter, but more even garland.

I usually go for longer and less even, but either will work!
Step 12: Finishing
Once your garland is trimmed, you can tie looped overhand knots in each end for hanging and cut the excess yarn.
This is also the point at which you can change the texture of the garland either by gently pressing the strips flat with an iron (I just do bunches at once) or crinkling them up with your hands — just crinkle and hold and let the heat of your hands crease the fabric. You could also wad the whole thing up tightly in a box for a few days to get the crinkly look like my original garland (pictured below).
Then you can hang your garland from two nails, a curtain rod, bedposts, or any other secure points you might want to use.
That’s it!
You’ve made a scrappy rag garland! Whether you used new fabric for a specific color palette or a memory-storing collection of scraps, your garland will last for ages. They do get dusty like all other hanging items so you may want to take it outside to brush or blow it off every so often. I haven’t tried putting one in the washing machine but my guess is that it would be a disaster so I’m not going to try. If it ever gets too dusty you can always recycle it and make another!
I hope you’ll enjoy trying this out. If you do, definitely let me know! Comment below or come on over to on Facebook or Instagram. Either way, let me know if you give it a try!


Leave a Reply